
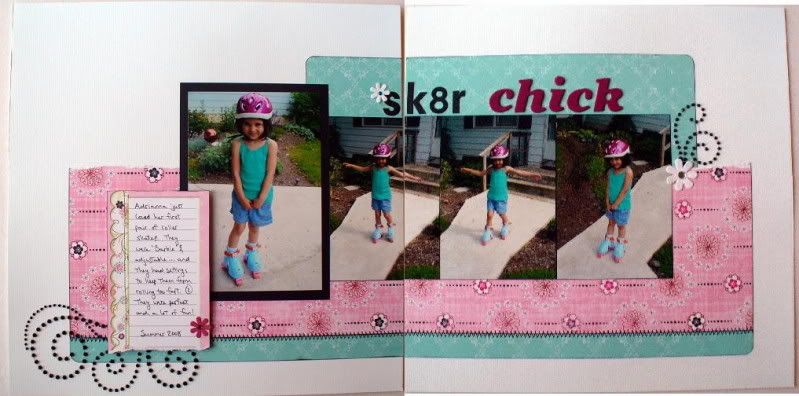
The Bo Bunny Line in my kit this month included a fabulous double-sided page of tags, journaling boxes, and other coordinating items. They were all lovely and it was difficult to decide which ones I wanted to cut out... since the ones on the opposite side were just as nice. Many lines come with coordinating die-cuts, but sometimes they just look too, well... flat sitting there are your page. To keep this from happening to your pages, I put together a little list of easy ways to make your die-cuts really stand out.
First, don't just use the die-cut all by it's lonesome! Jazz it up! Add embellishments on top to make it unique... you could add flowers, bling, glossy accents, stickles, etc.
Second, don't place them flat on the page. Use some pop dots or other dimension adhesive to add interest.
Third, ink and distress the edges. I always love to ink the edges of my paper and die-cuts are no exception. If your die-cut has edges that are difficult to ink... like inside corners or other tight spaces... place your die-cut flat on a piece of scrap paper and use a pen and draw a line that just touches the edge of your die cut (or, conversely, is *mostly* on the scrap paper).
Here is my die-cut close up...
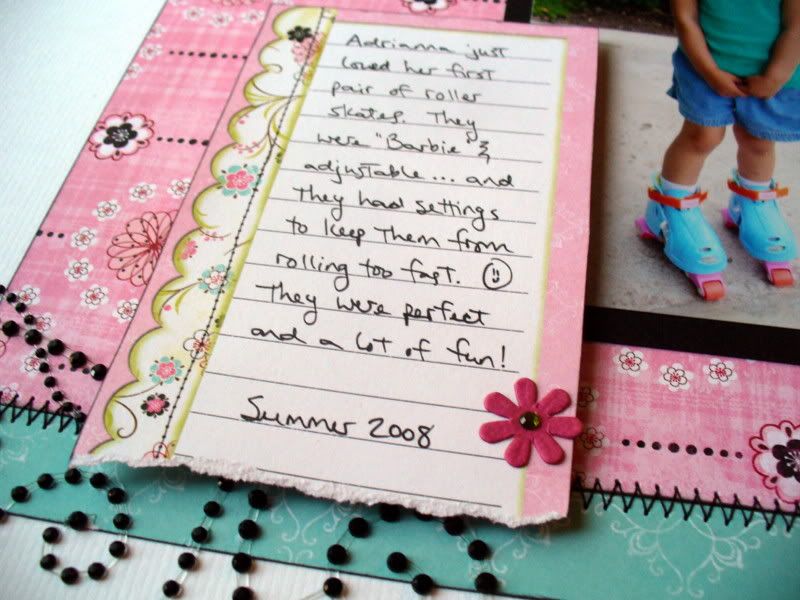
I used all of the techniques here and I also added stitching to my layout to repeat the printed stitching that is on the die-cut journaling block. Together, it helps the die-cut blend with everything else and look fab (if I do say so myself!). :)
thanks for stopping by!
erin
1 comment:
Great tips - I sometimes forget to ink the die cuts...and it really does make a big difference.
Post a Comment