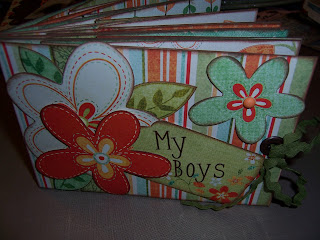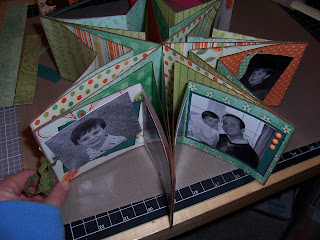

I saw someone making a star book at a crop once, and thought the idea was genious! She was kind enough to show me how they were done, and I’ve made several since. This one is going to be a gift so it’s not quite finished yet. They are actually very simple to make, one of the key things is using double-sided paper and a good adhesive. I use both Tacky Tape and my trusty ATG gun.
To make this you will need:
-Double-sided paper, 7 sheets for the inside and extra for the cover
-Strong Adhesive (I would use Tacky Tape or ATG)
-Ribbon for the closure
-Embellishments (you will need two jumbo eyelets for the closure)
-Paper Trimmer
-Bone Folder
-Ink
To make this you will need:
-Double-sided paper, 7 sheets for the inside and extra for the cover
-Strong Adhesive (I would use Tacky Tape or ATG)
-Ribbon for the closure
-Embellishments (you will need two jumbo eyelets for the closure)
-Paper Trimmer
-Bone Folder
-Ink
1. Cut paper into 7 4x8, 7 4x10, and 7 4x12 strips.
2. Ink the edges of both sides of each piece (optional)
3. Fold every strip in half and crease with bone folder.
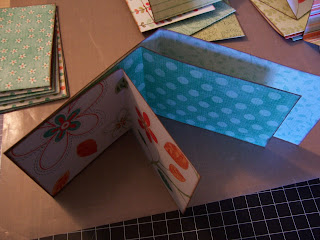
4. Then take one of each size strip and adhere one the short sides on top of each other as pictured.
2. Ink the edges of both sides of each piece (optional)
3. Fold every strip in half and crease with bone folder.
4. Then take one of each size strip and adhere one the short sides on top of each other as pictured.

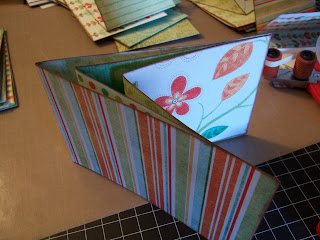
5. Then fold over and adhere the 2nd short end as pictured.
6. Continue that with all 7 sets of strips.
7. Arrange each set on top of each other so that the patterns are intermingled. Keep in mind which pieces you want as your front and back cover.
8. Adhere the back of one set to the front of the next as pictured.
6. Continue that with all 7 sets of strips.
7. Arrange each set on top of each other so that the patterns are intermingled. Keep in mind which pieces you want as your front and back cover.
8. Adhere the back of one set to the front of the next as pictured.

9. Punch a hole in the center of the open side of both your front cover and back cover and attach a jumbo eyelet to each hole.
10. You are ready to embellish and add pictures! Once that is done, you can run your ribbon through and tie it closed. To display it, just untie the ribbon and bring the front and back cover together and tie them together to get the star shape.
These can also be made with points if you want it smaller. There are multiple sites on the web with instructions as well. Just google Star Book instructions and you’ll find many ways to make these.
Enjoy!!!!

3 comments:
Cute book!
Sooo beautiful IRL! I am not a mini-book kind of gal, but I may just have to give this a try. Thanks so much for the detailed directions!
I love these books! great job and wonderful pictures!!!
Post a Comment