
I love collecting paper and fabric flowers, but sometimes I fall prey to just collecting them and not actually using them. In fact, I have a drawer full of little jars full of flowers and a little metal bucket of overflow with those that don't fit. I've been collecting for years, but only using occasionally. I'm sure I'm not the only one!
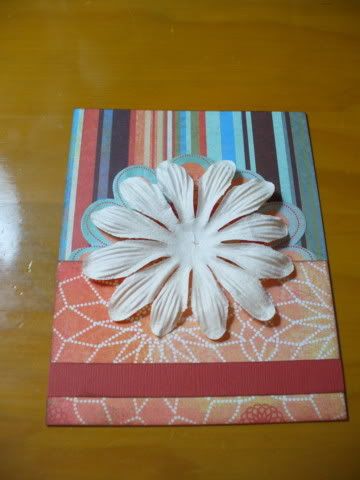
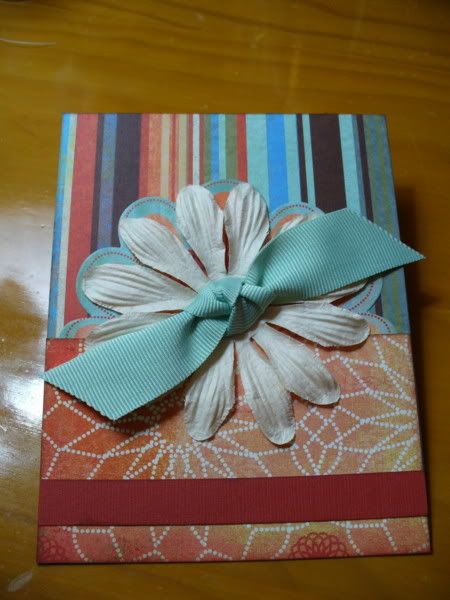
When a pair a large blossoms ended up in our kits this month, I vowed that I would put them to good use. An easy way to make an extra special card is to feature a beautiful flower on it. For this card I used the peacock cardstock sticker from Basic Grey's Marrakech line underneath the flower to add an extra layer. You can't even tell that it's a peacock since peacock's tail looks like a flower peaking out from behind the real thing! I used a piece of knotted ribbon as the flower's center and took some step by step photos to show you an easy technique.
When a pair a large blossoms ended up in our kits this month, I vowed that I would put them to good use. An easy way to make an extra special card is to feature a beautiful flower on it. For this card I used the peacock cardstock sticker from Basic Grey's Marrakech line underneath the flower to add an extra layer. You can't even tell that it's a peacock since peacock's tail looks like a flower peaking out from behind the real thing! I used a piece of knotted ribbon as the flower's center and took some step by step photos to show you an easy technique.
First, you'll need some ribbon - anything opaque will work for this. Find a brad in your stash that is a little bit smaller in diameter than the width of your ribbon. I usually try to find a brad that is a similar color to my ribbon just in case it shows a little bit.
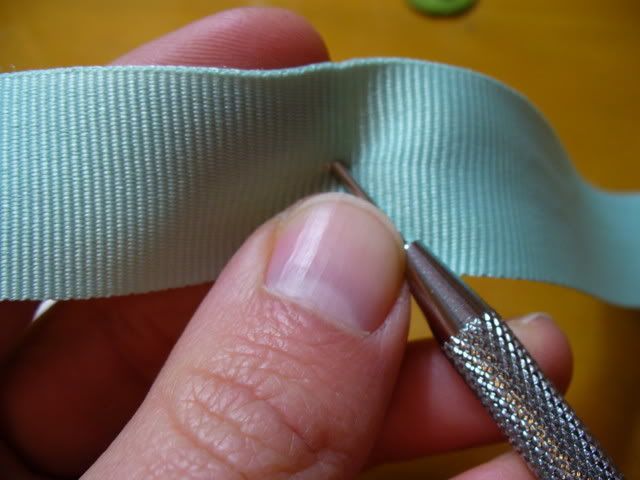
Now take your paper piercer and make a hole in the center of your length of ribbon.
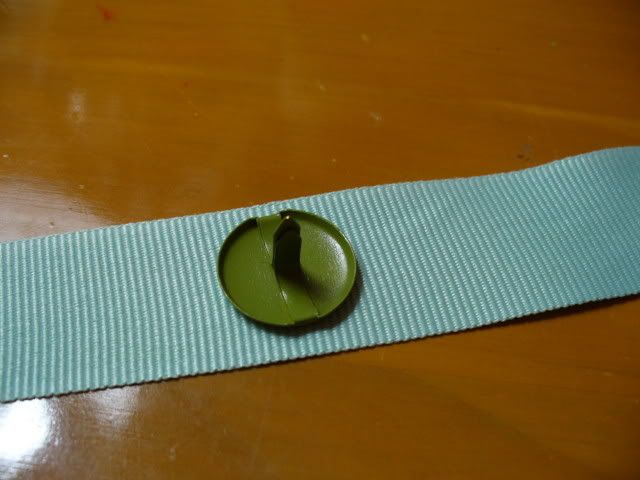
Gently push the brad through the hole...
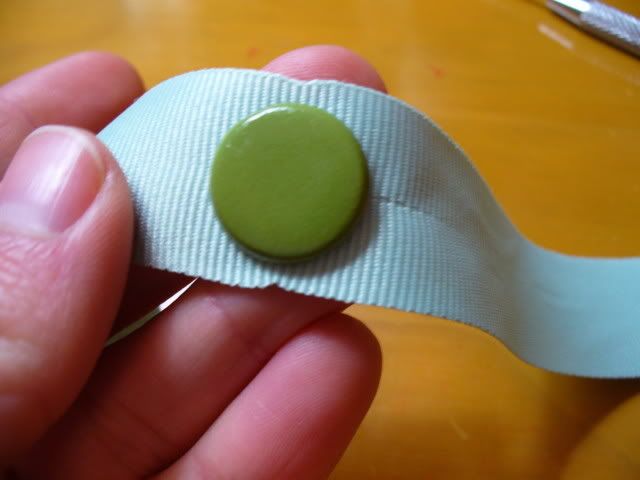
... and place the brad and ribbon together on your project, attaching it securely.
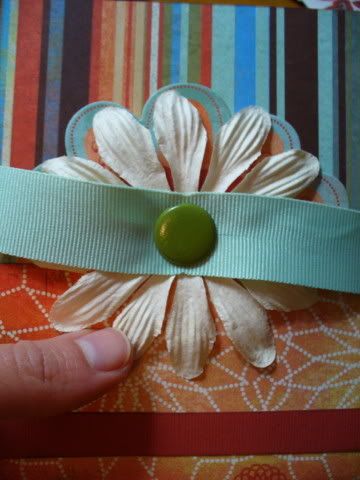
Now you just tie a half square knot and trim the ends of the ribbon and you have a beatifully embellished card with a nice, full knot in the center that won't come loose after a little handing by USPS! :)
thanks for stopping by!
erin
5 comments:
Thanks for the great tip! Can't wait to try it.
This is such a cool tip! Thanks for sharing!
Very cool - what a great idea!
Erin - you are such a clever girl! I am definitely going to use this idea! TFS!
Great tip! I like it!
Post a Comment