
First I cut out the portion of the sheet that I wanted to use.
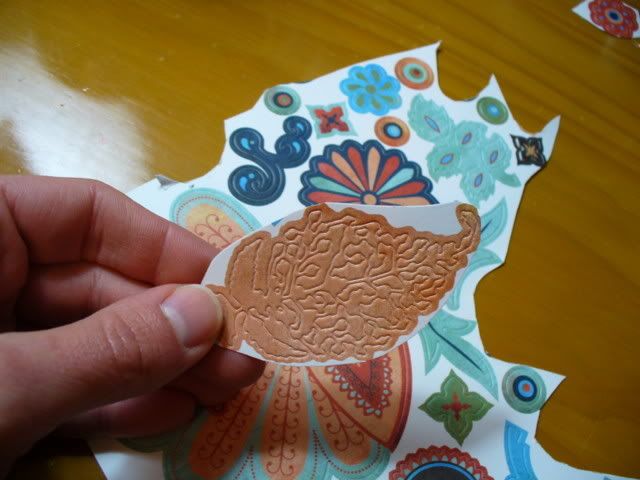
Then I carefully peeled off the cardstock surrounding the sticker so I can see what I'm working with. With this piece I tore parts of the waste area off little by little to be sure not to tear the die-cut.
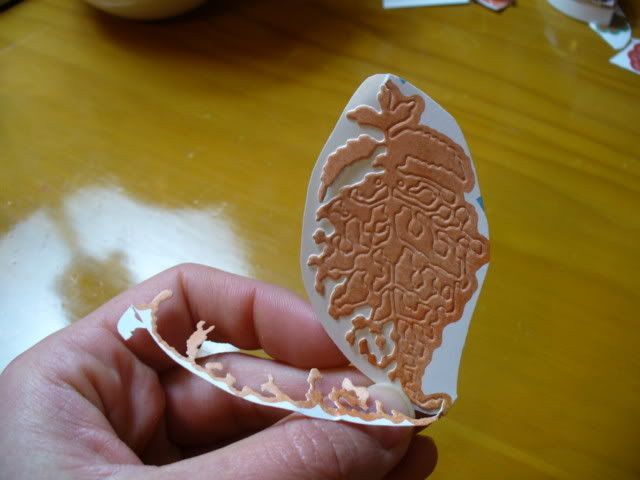
Once this was done, I could easily tell what it would look like on the finished project.

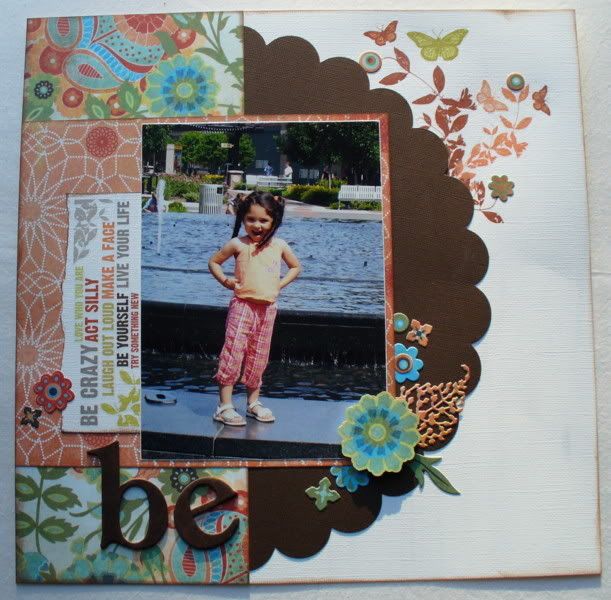
For my layout, I layered a number of the die-cuts together with a flower cut from the patterned paper. A sprig of rubons from My Mind's Eye - Laundry Line was the perfect color match. I added a few die-cut stickers over top of the rubon to help tie it all together.
thanks for stopping by!
erin
4 comments:
Thanks for the good tips for using the delicate stickers. I will try that.
I struggled so much with those darn things...thanks for the know-how!
Great Tips!
Thanks for the post.
I didn't use that sticker in my last submission AND I have those rub-ons from My Minds Eye that I bought at the store a few weeks back...A scraplift just might be in my future!! Love the layout!
Post a Comment