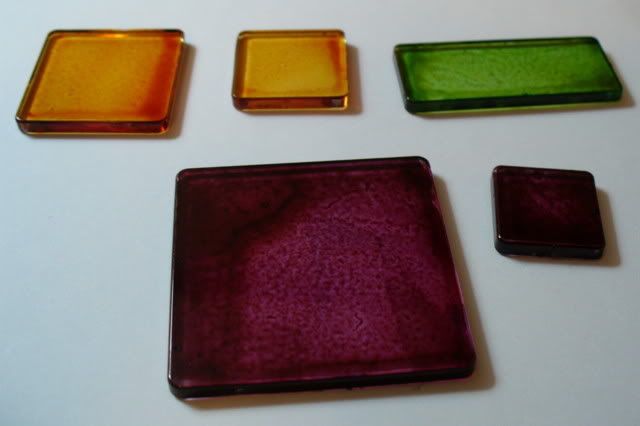
First I colored my tiles with Alcohol Inks. This is easy peasy! Just take your tiles, alcohol ink, and a non-stick craft sheet (or, if you don’t have that try putting down a couple of layers of cling wrap on your work surface). You can color the tiles a couple of ways:
1. You can drip the inks directly out of the bottle and onto the tile, tipping it to make sure the surface is covered, and, if you have extra puddles, you can carefully pour off the excess onto your sheet.
2. You can drip the inks onto the craft sheet to make a small puddle. Place the tile in the puddle and push it around to cover it in the ink. Pick it up carefully and set it aside to dry.

Generally I find that the first option gives me a more saturated color and the second option is a lighter color. Both look very cool with very little effort. If you don’t want colored fingers, use gloves. If you don’t mind being messy... the ink will come off in a couple of days! :)
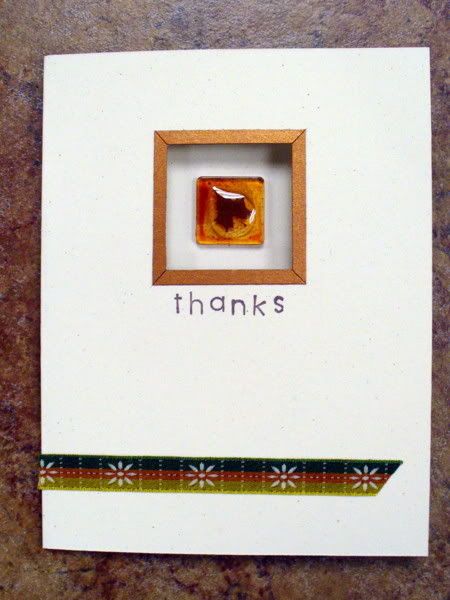
First up – Colored tile with epoxy sticker... a simple and elegant feature for a card.
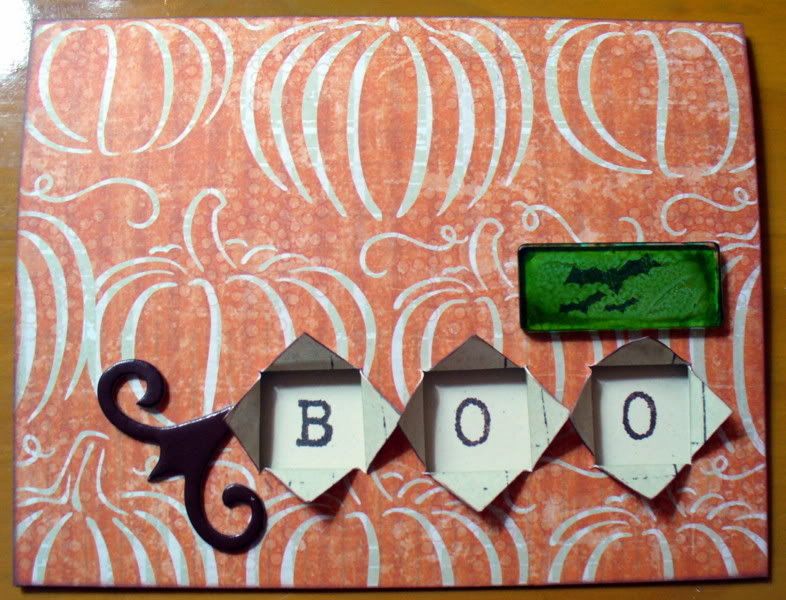
Second – Colored tile backed with patterned paper. Stick the patterned paper on with Glossy Accents or Zip Dry to cover the entire piece and avoid glue lines.

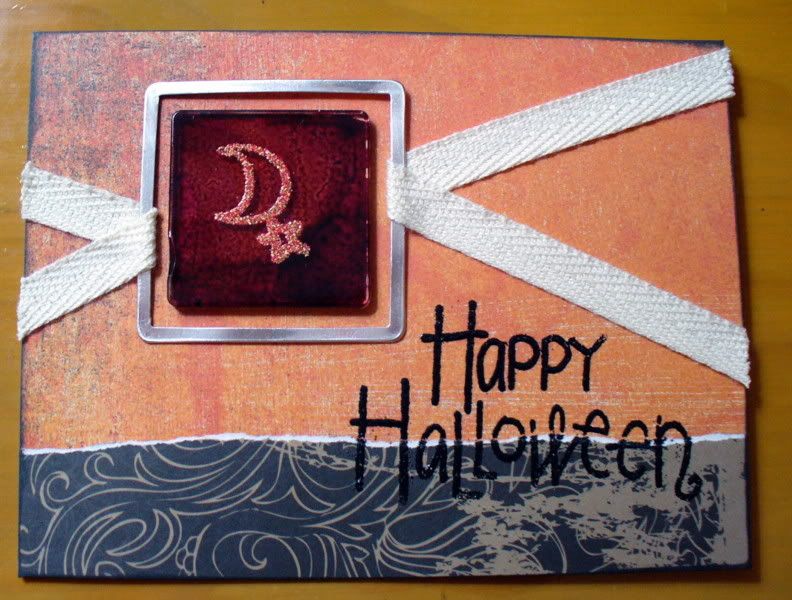
Third – Colored tile with stamping and heat embossing. Be really careful when you heat the embossing powder as you could melt the tile... I did a little bit on one edge, but it just adds to the look! You could also just stamp on the tile with an ink suitable for glossy surfaces like Staz-On... just be sure to stamp on the opposite side from the alcohol ink as the solvent ink will take off the alcohol ink. This card is a scraplift of Susie’s picture frame from last month. I swapped out the slide mount for a tag rim and tile.

Thanks for looking!
erin

1 comment:
Love all these ideas! Very nice! I have to admit I am a teensy bit afraid of alcohol inks, so it was good to see them in action!
Post a Comment