
I wanted to show you a quick and easy way to distress photo edges. I love this technique because is it SO quick and simple to do, but it’s adds a nice touch to a layout.
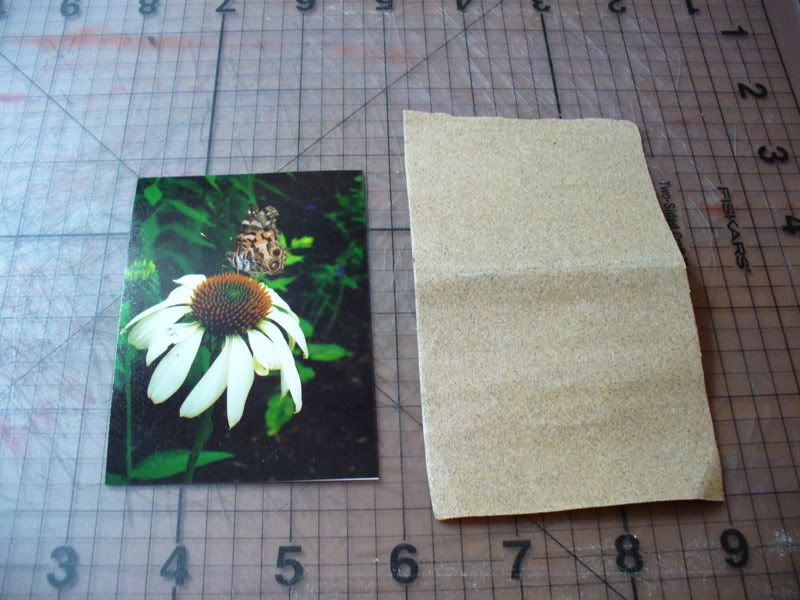
First, your supplies: a photo, craft mat, and a scrap of sandpaper. For the photo a matte finish is better. You can certainly use a glossy print, but the finished result will look more “scratchy” for lack of a better word. Your sandpaper should be 150 grit or more. Remember that the lower the number, the scratchier the sandpaper. 150 is the lowest I would recommend and I use 240 the most often.
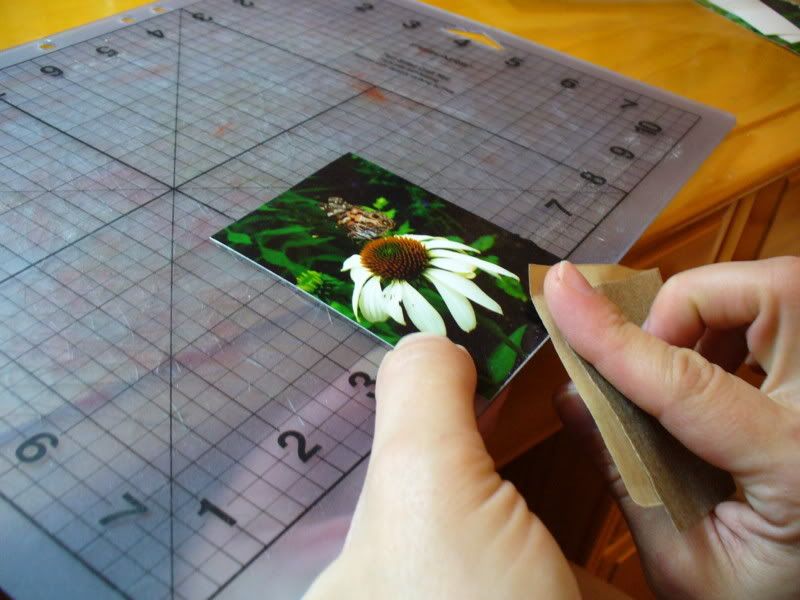
Next, take your craft mat and butt the edge of the photo and the edge of the mat together. Fold the sandpaper over on itself with the scratchy side out and carefully rub along the edge of the photo. You’ll see the color start to come off and reveal the white photo paper. Sand until your satisfied with the look... remember you can always sand more, but you can’t go backwards! Repeat for the remaining sides of your picture.
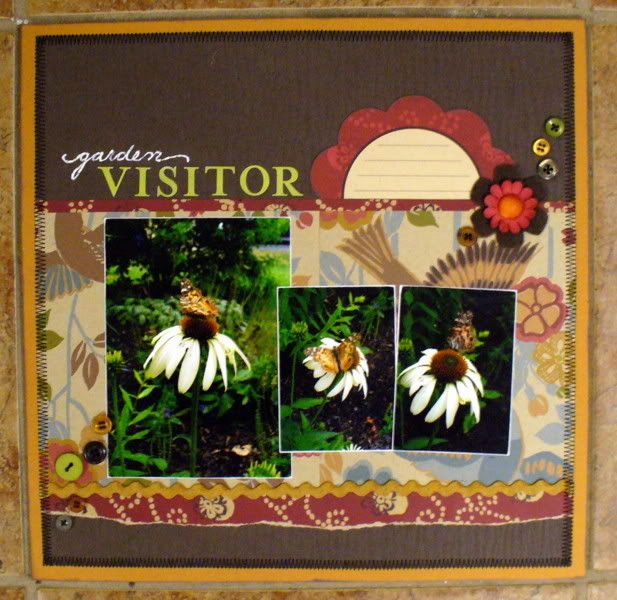
Here is my finished layout... I love how the simple distressed edges highlight the photos without being busy or bulky.
Thanks for looking!
erin
1 comment:
I love the sanded look -- thanks for sharing your technique!
Post a Comment