
I covered the front and back covers with patterned paper and several coats of Mod-Podge to seal it. For the back cover, my signature stamp on the back uses scraps of the back of the patterned paper... which for these Anna Griffin papers is plain kraft. I was really excited that the backs were kraft... because kraft paper goes with so many things, because it’s beautiful, and also because some kraft papers that you can buy out there are not acid free. With Anna Griffin you can completely trust that it’s safe for your photos. I added some chipboard accents and the Kaiser wood letter title painted with Tim Holtz crackle paint to the front and set it aside.

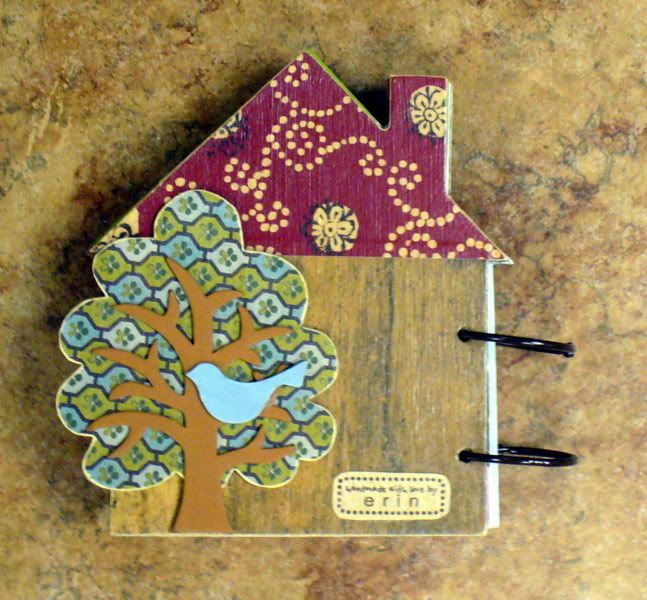
Now, I am not usually a mini-book maker. Don’t get me wrong, I love the look of mini-books that other people make, but tend to be overwhelmed with options to make it work for me. This month I really wanted to make a mini-book, so for the inside pages, I limited myself to only a few supplies: photos, patterned paper scraps, kraft stickers, buttons, and flowers in paper and felt. I pulled out all the buttons and flowers that were the right color scheme and no more. I did the same with the buttons... only the colors I was going for and nothing else! Each page featured a photo, a kraft journaling sticker, buttons, and flowers. Some of the felt flowers I had in the right color were just too big or the shape wasn’t what I wanted, so I took out my scissors and cut them down. All of the embellishments are glued on with Zip Dry so that they can take some handling without any trouble!
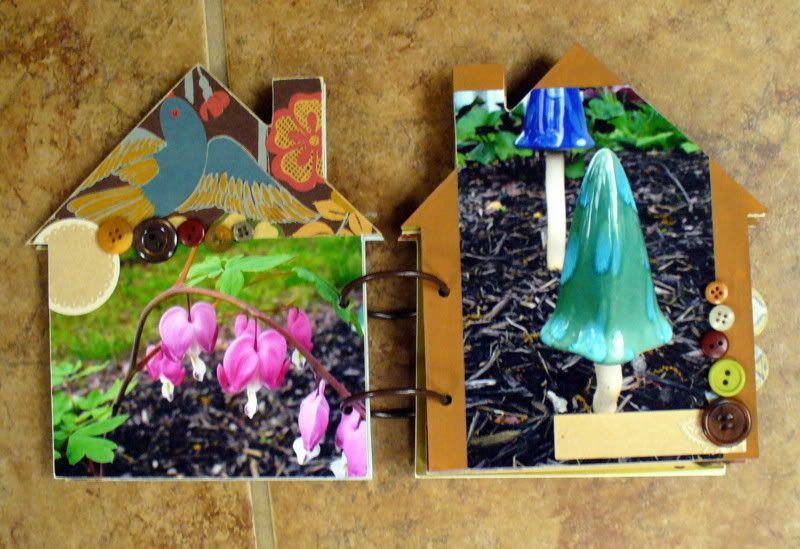
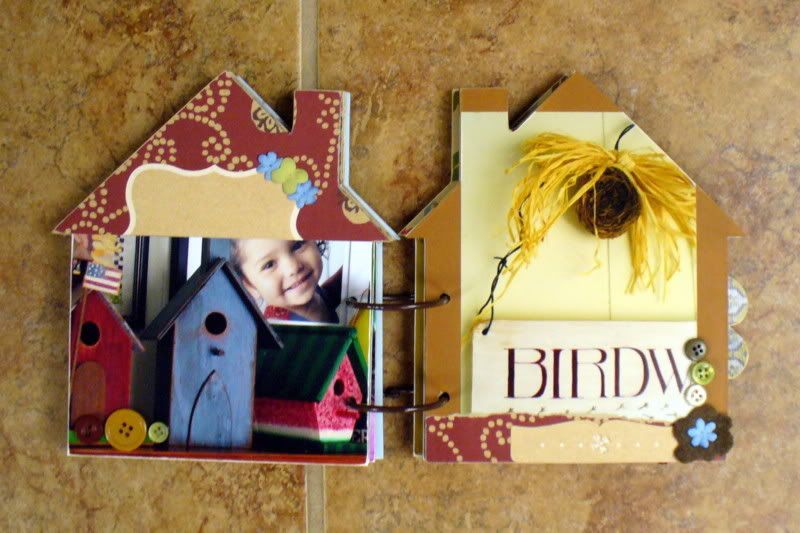
Here are of few of the inside pages... if you want to see all of them, check out my blog or stop by the store and take a look-see!

Thanks for looking!
erin
2 comments:
I love how this turned out -- minibooks are my favorite!
ditto
Post a Comment