
It took me a while to find instructions online... so I thought I would put some together to share with you.
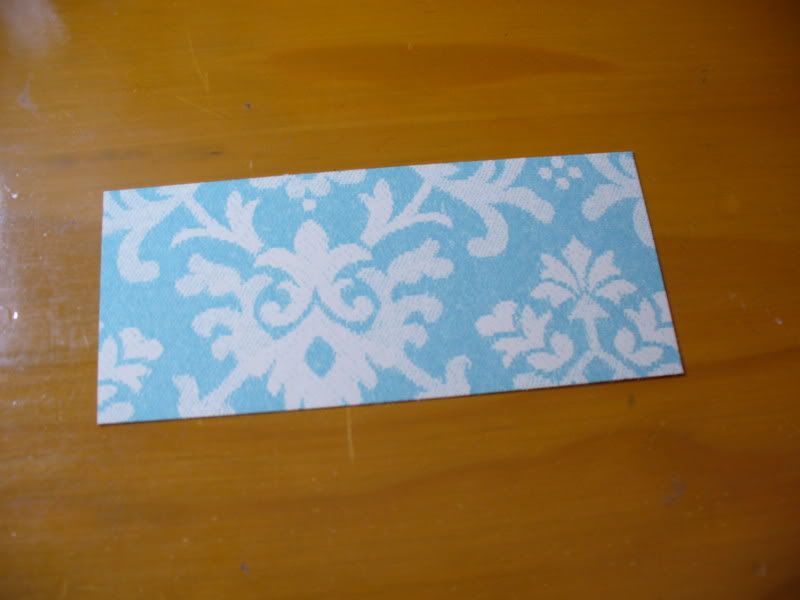
First cut your paper into a rectangle that is at least twice as long as it is wide. The largest I made was 3.5 inches in diameter (from a 3.5 inch by 7.5 inch rectangle) and the smallest I made was 2 inches in diameter (from a 2 inch by 4.5 inch rectangle).
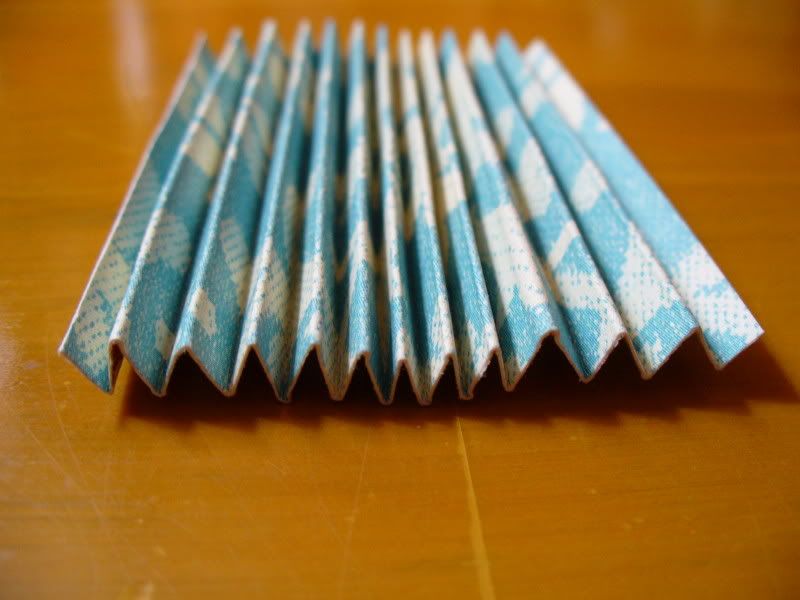
Begin accordian folding the paper on the short end, making the folds as close together and even as possible.
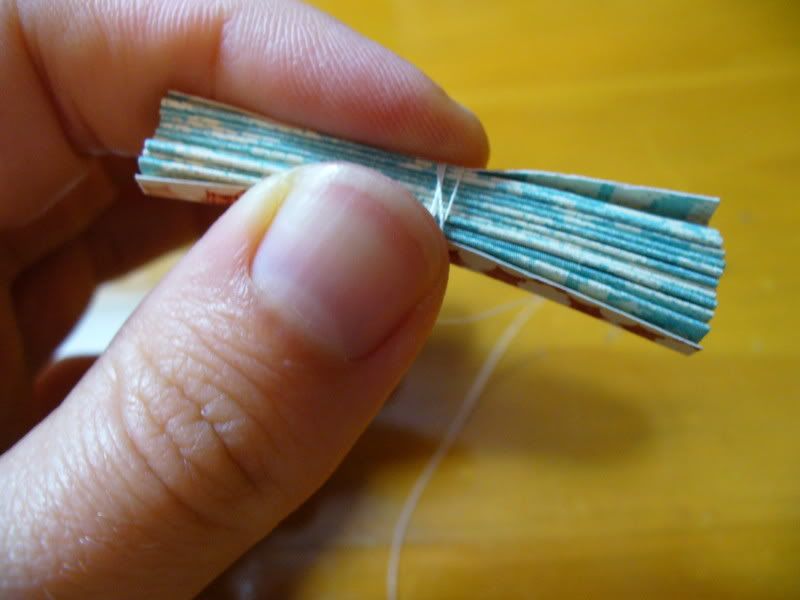
Take a short length of sewing thread (about 3 to 4 inches) and wrap it around the middle of the paper folds tightly. Tie the loose ends in a double knot and trim the ends close.
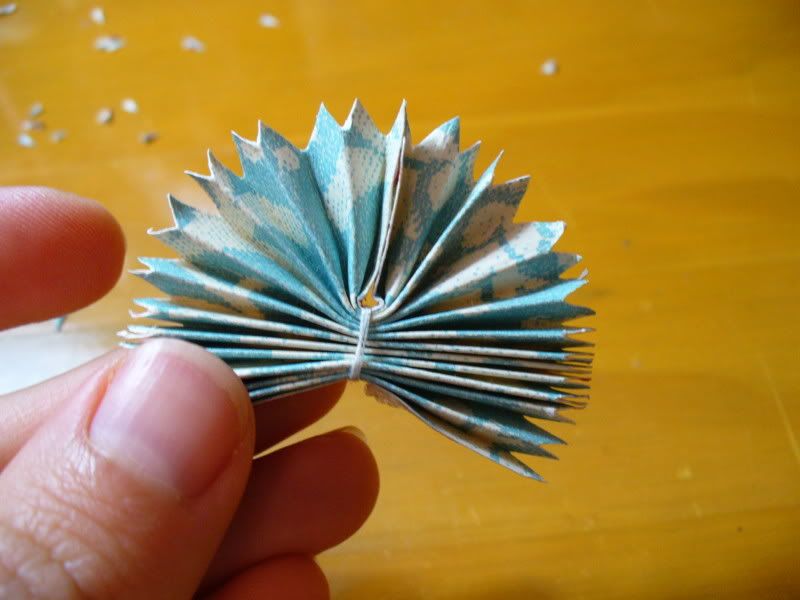
 Working with a few folds at a time carefully trim the edges into curves or points. Continue until all the folds match
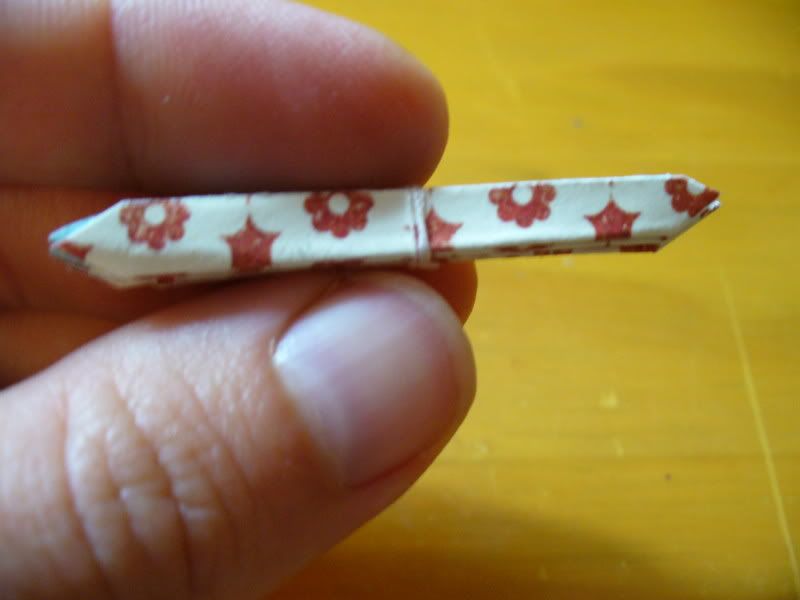
Bring together the loose edges and glue with strong adhesive on each side. Carefully fluff the flower to spread out the folds.
Here is the finished flower!

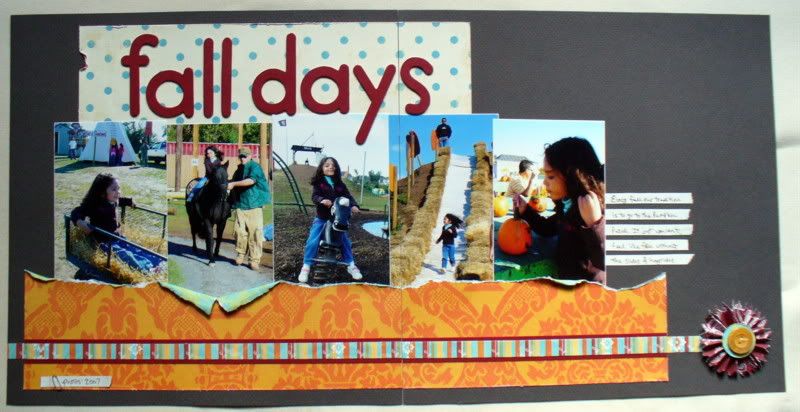
Decorate the center of your flower with punched paper circles, buttons, or paper flowers. I made quite a few of these and ended up adding them to almost every project I made. I love making embellishments from my patterned paper since they match perfectly!

thanks for stopping by!
erin
No comments:
Post a Comment