
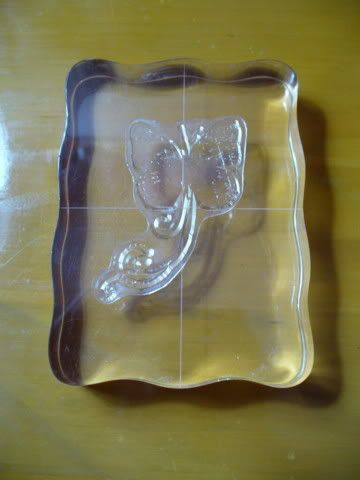
First you need your stamp and something to put them on. You can buy clear acrylic blocks in different sized at Scrapbooks Plus. You can also use a clear ruler, a small piece of plexi-glass, or a CD case if you don't have a block. Just make sure that the stamp fits completely on the item you are using as a block. Peel the clear stamp off the packaging and stick it to your block. If you haven't used it before, sometimes it'll be a little difficult to remove from the backer. Take your time and carefully remove it. On the other hand, if your stamp doesn't want to stick to the block, just wash both the stamp and the block in soapy water and set aside to dry. They'll be good as new!
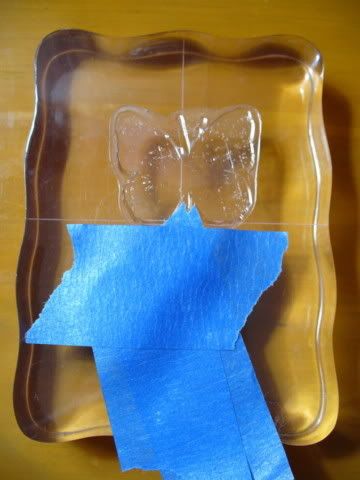
I only wanted to use a part of this stamp...only the butterfly and not the trail. Kathryn has done a couple of videos showing how to mask off a part of a stamp with a post-it... but since the butterfly is irregularly shaped, I needed to use something else... blue painters tape!
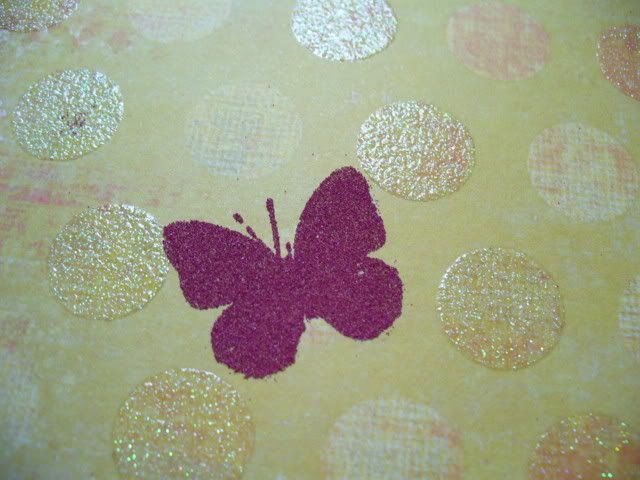
I pulled off pieces with pointed ends to get in between the butterfly wings. Then just apply the ink pad to the stamp (I used clear... so no use taking a photo!), remove the tape and stamp onto the project. Here is my stamp with embossing powder... only the butterfly and not the trail, which would have been going in the wrong direction.
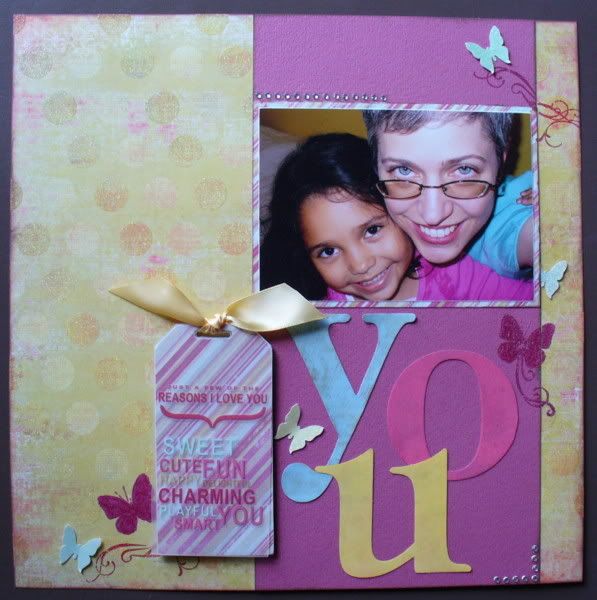
Here is the final layout:
thanks for stopping by!
erin
4 comments:
I like your painter's tape idea -- it seems like any kind of low viscosity glue (something removable like a post-it or painter's tape) would work really well for masking stamps.
Love the tape idea too! I am going to have to give it a try. Thanks for the great tip!
SO much easier than the try not to ink part of the stamp idea that I typically use.
Great idea - I usually use Kim's technique
Post a Comment