
In scrapbooking, we often frame our photos or background to help them stand out, give added impact, or balance our layout. The most common way to frame items is by matting them. Sometimes you may want to add a mat to the edge of an entire layout. That will generally mean that you cut down one portion of your layout and place onto another entire sheet of patterned paper or cardstock, allowing the base paper to peek out on the edges. This takes up a lot of precious paper! Making a frame of paper strips gives a very similar look and takes a lot less paper.
To make a mitred frame, you will need a base paper or cardstock, a craft knife, adhesive, a straight edge/ruler, self-healing mat, and paper to make the frame.
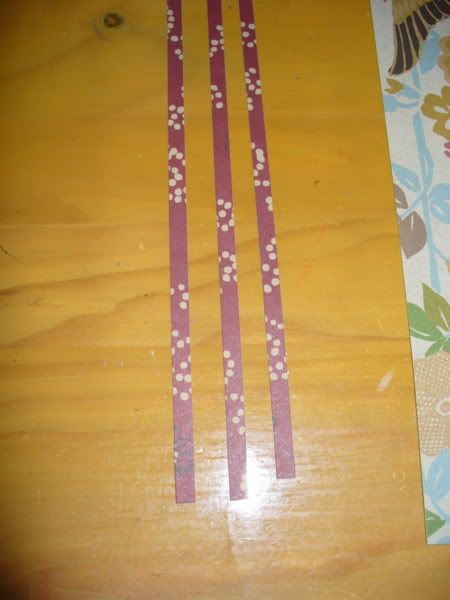
First you will need to cut strips of paper. Here I was making a three-sided frame to reach out on one side of my layout. So I cut three skinny strips. You can make the strips any width you like... it just depends on how wide you want you frame to be. All the strips must be the same width!
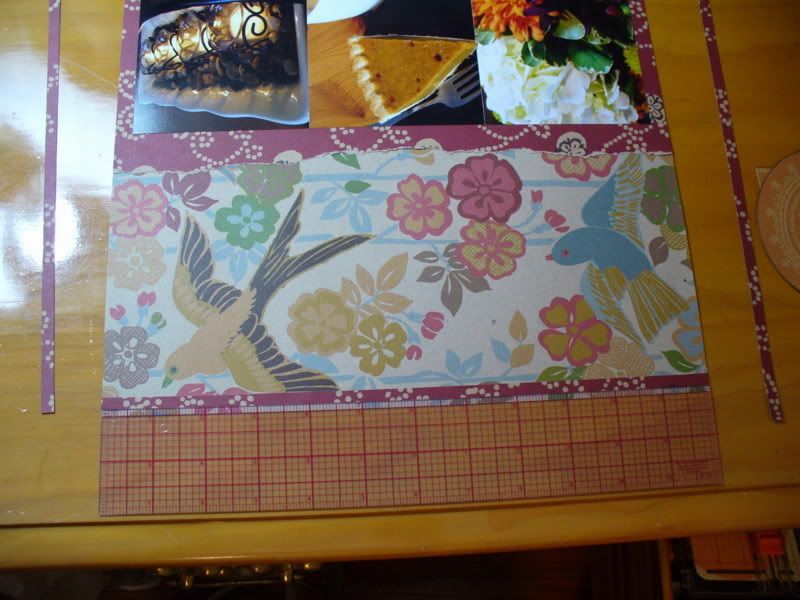
Next I laid the strips out on my layout to make sure I was placing them properly. All of the corners need to overlap fully in order for the frame to be complete.
Glue down each strip, leaving the criss-crossed corner portion unglued. A clear ruler helps to keep each strip straight.
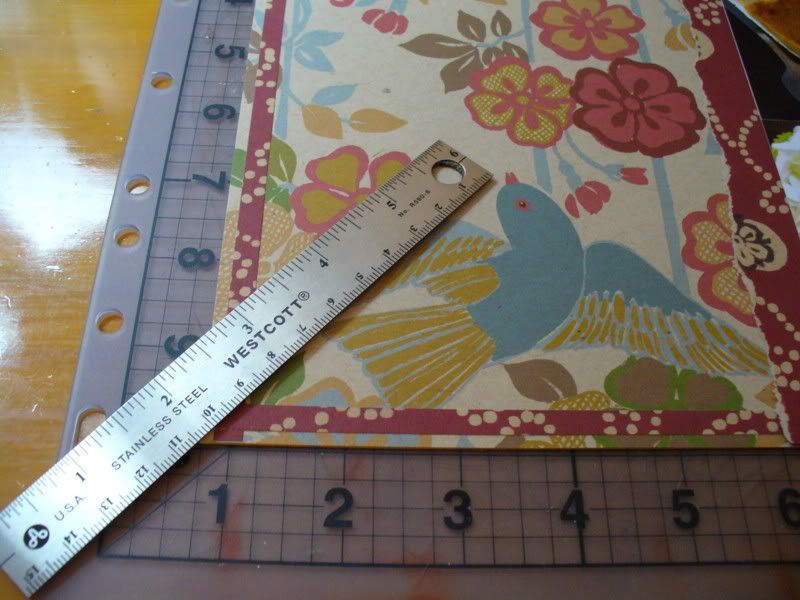
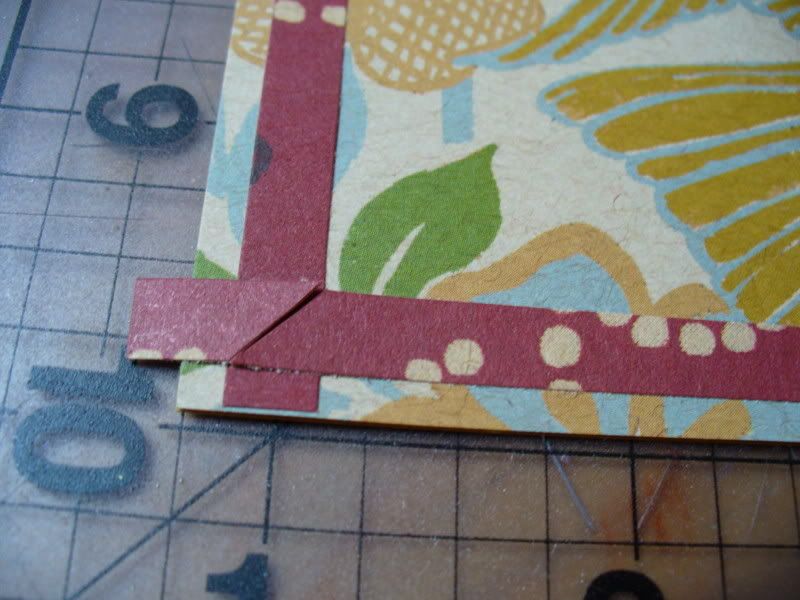
Once all the sides of the frame are adhered, place the layout on your self-healing mat, take a straight edge and a craft knife and carefully cut a straight line from the inner corner to the outer corner. It make take a few passes of the knife to get all the way through the paper frame pieces. Be sure to only cut on the paper frame... that way if you cut through a little bit of the background paper it will be covered by the frame.
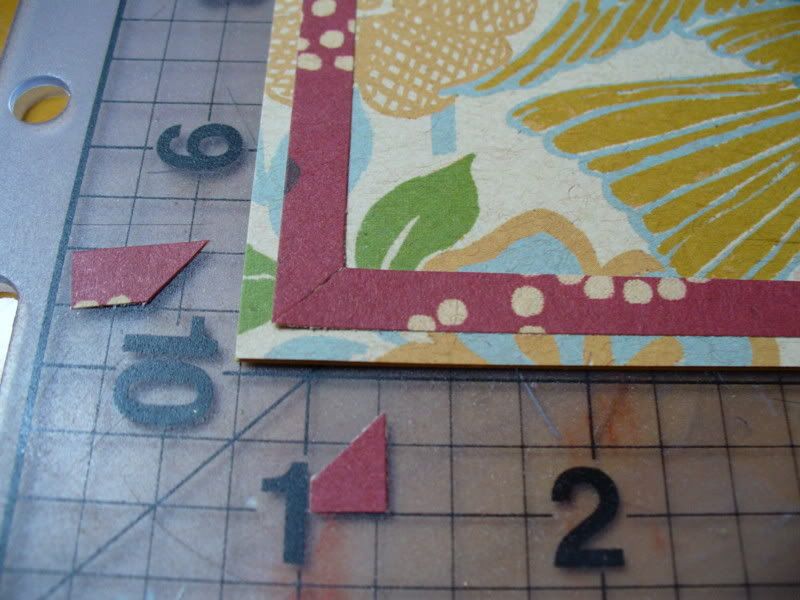
Remove the loose extra corner pieces and your frame pieces should come together in a perfect seam. Put a little bit of adhesive underneath to hold them in place. Repeat for your other corners.
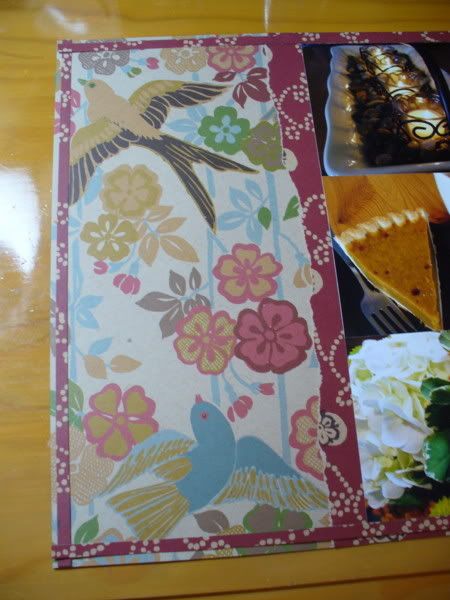
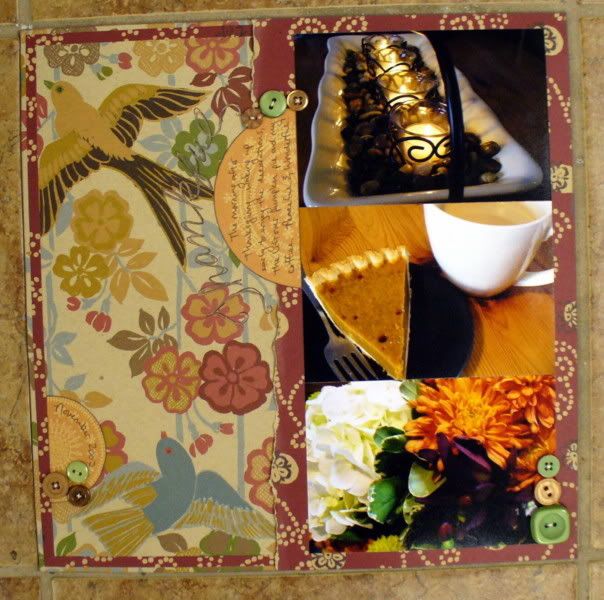
Here is the finished frame! This frame was place inside the edge of the background paper to help balance the dark color from the right side of the page.
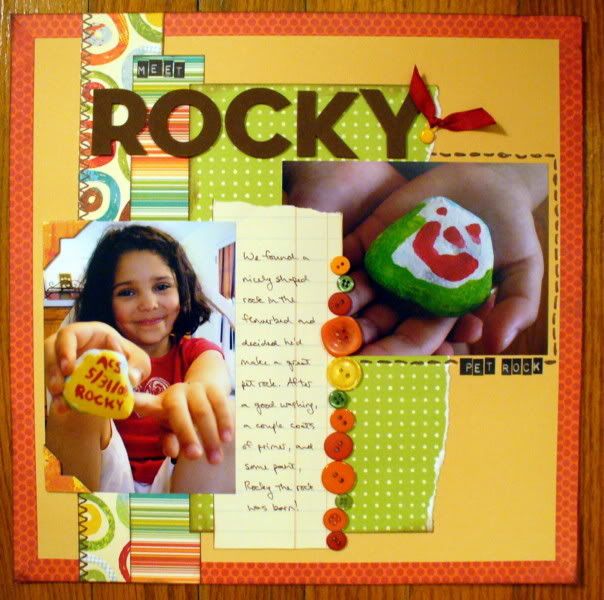
Here is another frame example using scraps I had left of the Scenic Route DT kit from a few months ago. For this layout I only had scraps left of the red dot paper, so I made a mitred frame to get the look of layering I was going for.
I hope this helps inspire you to grab that craft knife and make yourself a mitred frame. If you do, we'd love to see it!
erin
:)
3 comments:
Thanks for sharing this -- I love the clean look of a mitred corner!
Thanks for the little tutorial, love both layouts!
How in the world do you keep them straight?!? I always find my frames are a little lop-sided. Or maybe it's me who's lop-sided! Seriously, the frame does a great job of tying the left side to the right side of the layout - my guess that this would be a great technique for a two page layout when you don't have enough paper for both pages - shave a little off the right side and create a mitred frame to tie into the left using a different (but coordinating) patterned paper, if you know what I mean.
Post a Comment