Sketches are a great starting point. But don't be afraid to change it - after all, it's your layout! Turn it around, flip it, merge parts of the sketch, add to it, or leave things out.
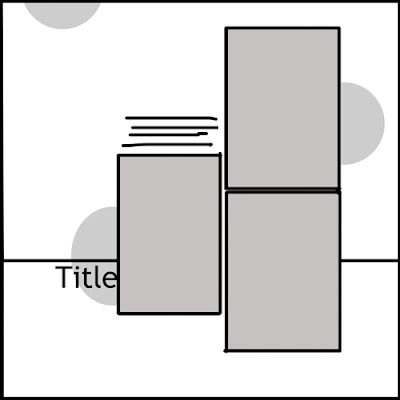
Here's this month's sketch:

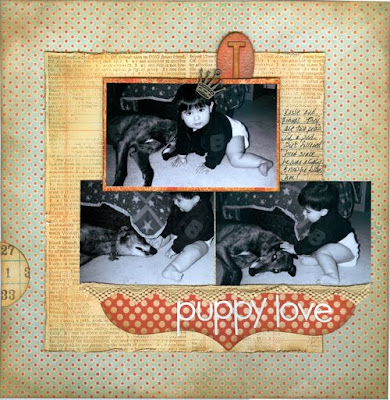
For my layout, not only did I turn it 45 degrees to the right, I also flipped it horizontally - well, some of the elements got flipped. I also changed the circular embellishment on the bottom to a much larger bracket, added a piece of patterned paper underneath my center photos, and eliminated the horizontal line across the middle (which would have been vertical) - although I did include a piece of ribbon under my photos.
For my patterned paper piece, I stamped all over it with a "friends" definition stamp. The chipboard was colored with Tim Holtz's Distress Stains - so quick and easy!

1 comment:
Great advice-cute crown!
Post a Comment