
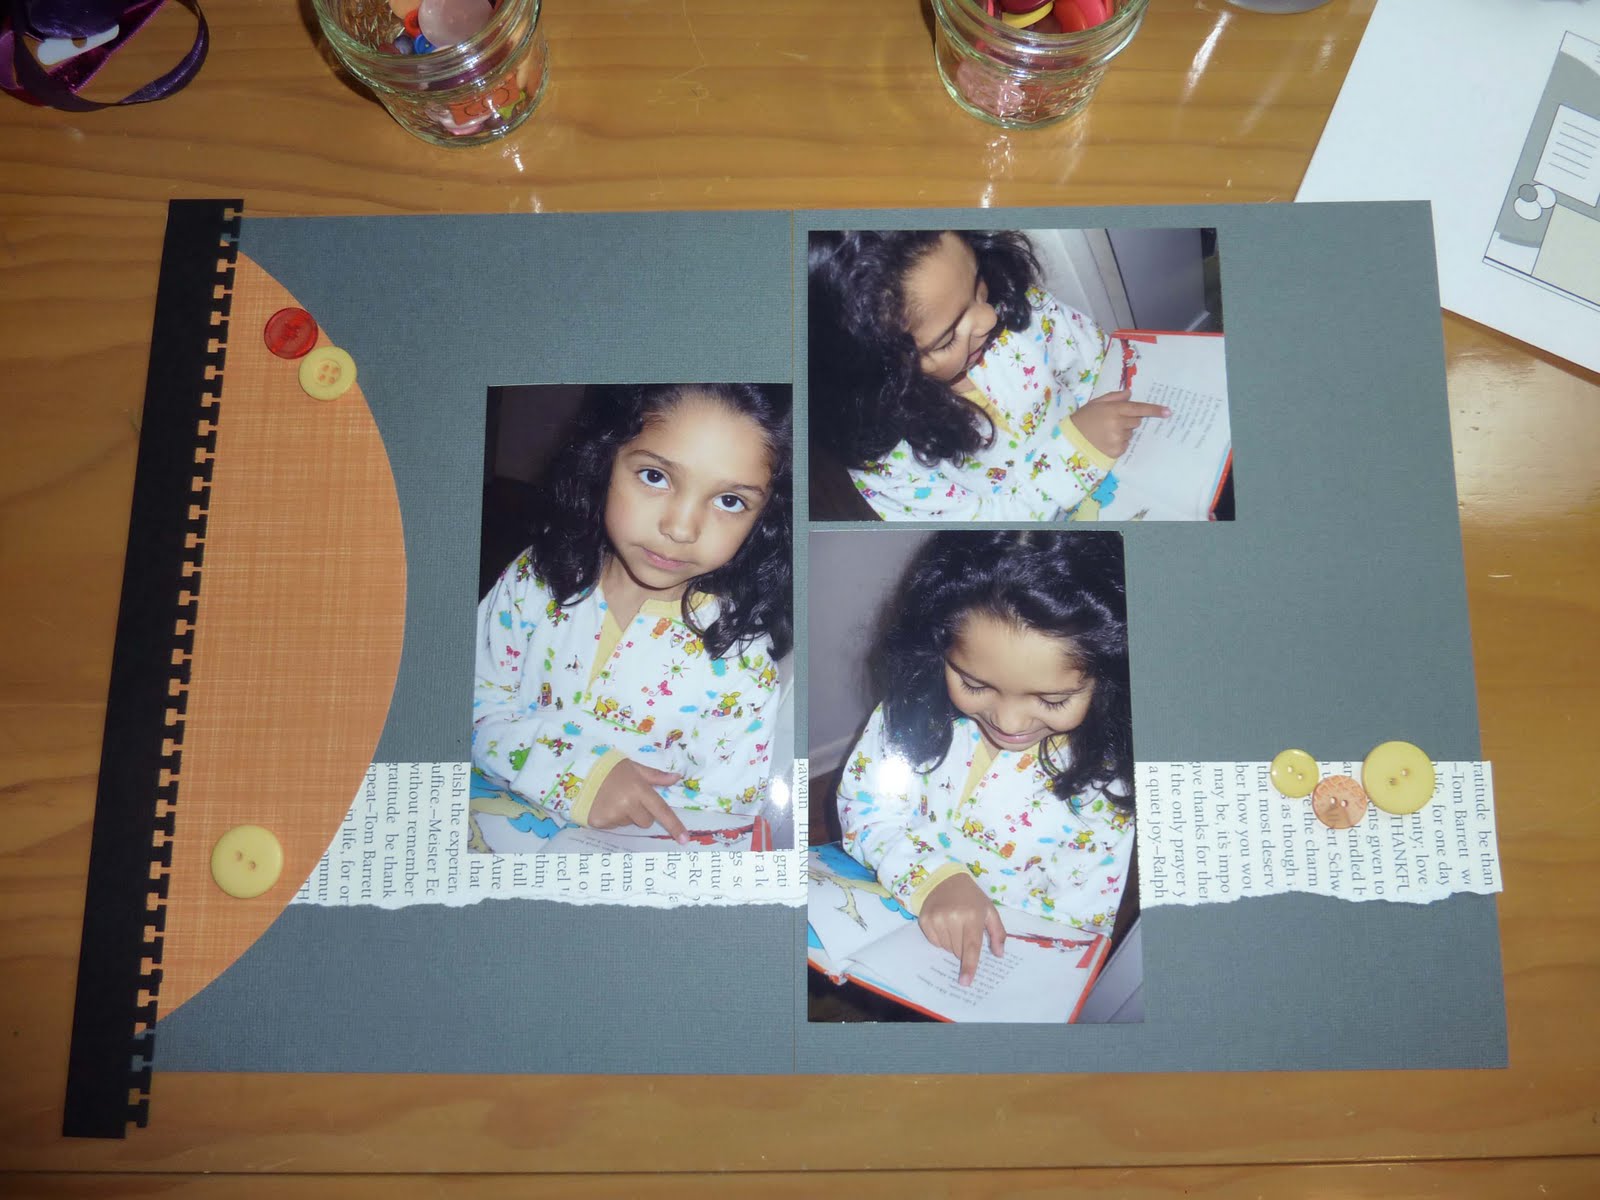
First up, this month's sketch was courtesy of Esther and had many elements in it. You can see it and all of our layouts here (at the very bottom). I found a set of four photos to use and started by arranging them on the page and cutting the circular element out of the orange linen patterned paper.

It seemed a little crowded for me.... so I decided to switch to a double 8.5 x 11 page instead and drop one of the photos. I also decided to switch out the black cardstock for some silvery grey.

Now, time to add some of the sketch elements. I used the text paper for the stripe crossing the page. I cut across the direction of the words to give me the feeling of the text while neutralizing the meaning of them. I decided to add a punched notebook page border to the left-hand side.

Esther included a number of round elements on the sketch. So I pulled out my button stash and found some oranges and yellows to complement the photos and the papers.
I still wasn't sure about my round elements... so I tried out some of the Sassafrass Lass stitched and layered flowers. I put them each on a punched black circle and added punches black photo corners to the outer corner of each photo. Putting three black items helps create repetition in the page and repetition just feels good! :) I added a tag under one of the photos for journaling and a little photo of the Green Eggs & Ham book since Esther's sketch had a small square in nearly the same spot.

Now for the title... had to go with black (these are old Heidi Swap letters) and now I needed to fiddle with everything to get the buttons and flowers to look just right.

Here is the final layout all glued in place. A ribbon for the tag and inking all around finishes it up.

thanks for stopping by!
erin
PS. The favorite 50 refers to the that that Dr. Seuss wrote Green Eggs & Ham on a dare from his editor that he couldn't write a story using only 50 words. This book was always one of my favorites as a child and I loved trying to see how fast I could read it aloud. It must be genetic... since my daughter came home with a copy from a book swap at school... and I've heard her reading it aloud to herself, really, really fast. :)
1 comment:
It looks like you had fun with this. My page map is a reference for making your own personal layout. You captured that idea and gave good step-by-step to achieve it. Bravo!
Post a Comment