
First, get together your supplies: Zip Dry or other wet glue, ribbon – about double the length of the space you are covering, and a weight – I used an acrylic stamp block.
Next, layout your ribbon approximately where you want it to be. I scooted the ribbon down a smidge and ran a bead of Zip Dry along the paper from the end of the ribbon up to the first pleat and placed the ribbon carefully on top. Now I store my ribbon on plastic floss bobbins... so my ribbon had bumps in it. Rather than iron it flat, I used those “bumps” as the placement for my pleats... why iron if you don’t have to is my motto!!!
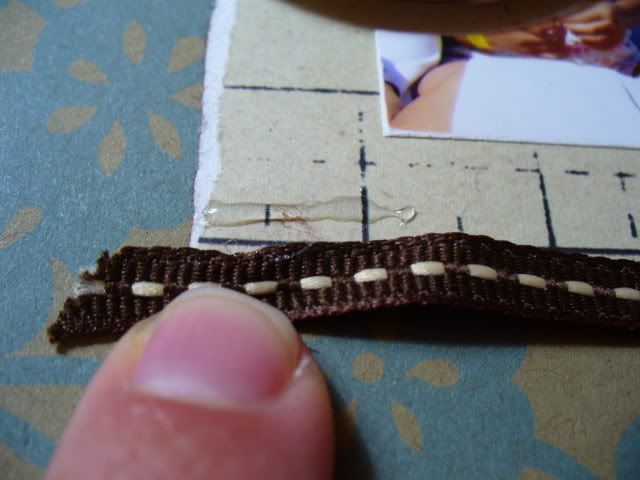
Once the end is in place, I started to make the pleats. First I put a drop of glue on the top of the ribbon just to the left of the pleat fold. If you will be folding your pleats to the other side, place your glue on the right of the fold (or turn it upside-down and keep going left). Then I folded the ribbon onto the glue and held it in place for about a minute or long enough for the glue to take hold.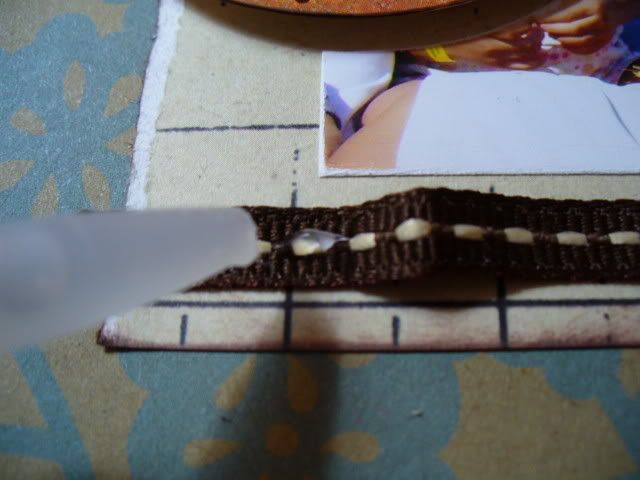
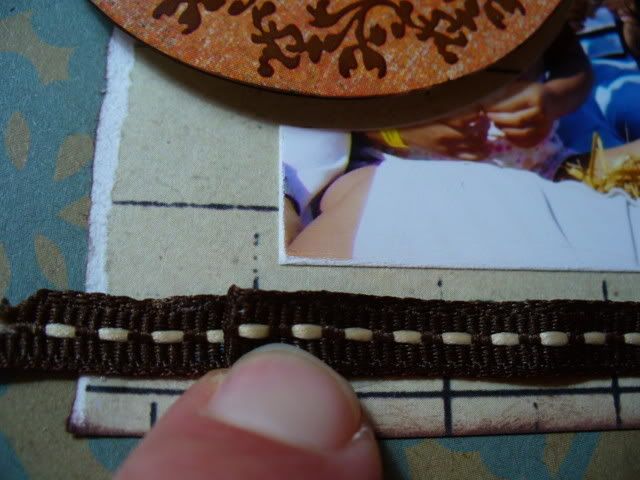
Then I lifted up the tail of the ribbon and placed a line of glue on the paper between the first pleat and the next pleat fold. Once this first pleat was dry and holding well, I made the next pleat, placing a dot of glue on the top of the ribbon to the left of the pleat fold, folded it over, and ran glue under the next section.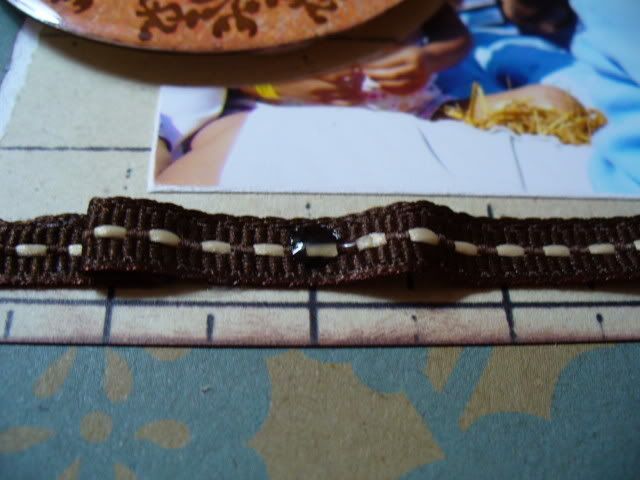
At this point I placed the acrylic block over my completed pleats to speed up the process. I could glue 2 or 3 pleats in place, sliding the acrylic block over top of them to make sure they were staying put until the glue had a chance to dry. If a section of ribbon inbetween pleats didn’t look as though it was firmly down, I just used a paper piercer to reach under the block and push it back into place.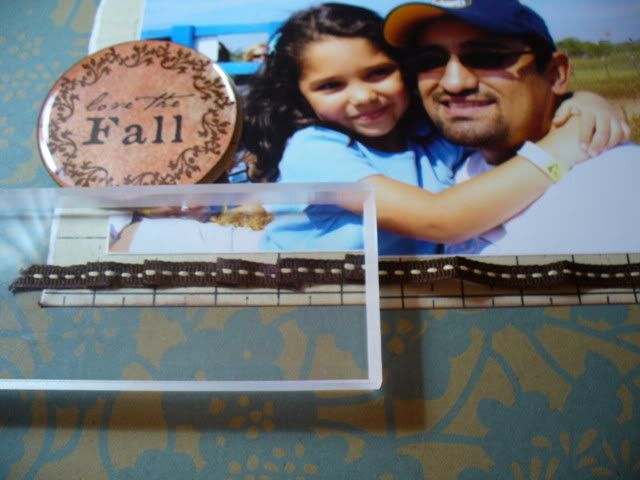
And here is the finished layout...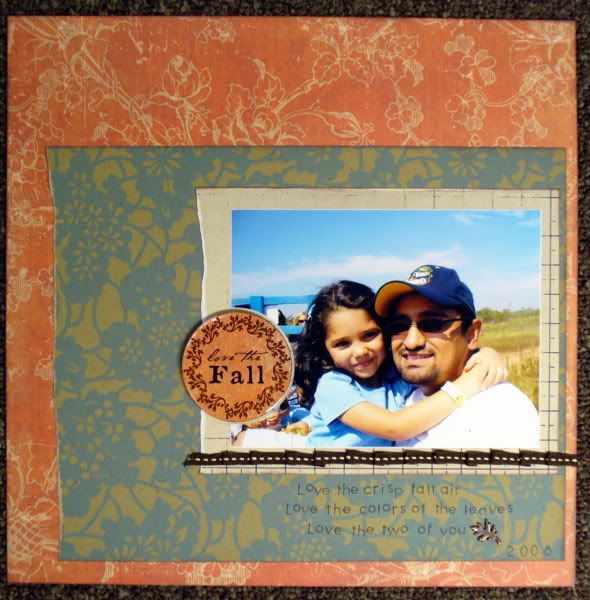
... and a closeup of the pleated ribbon.
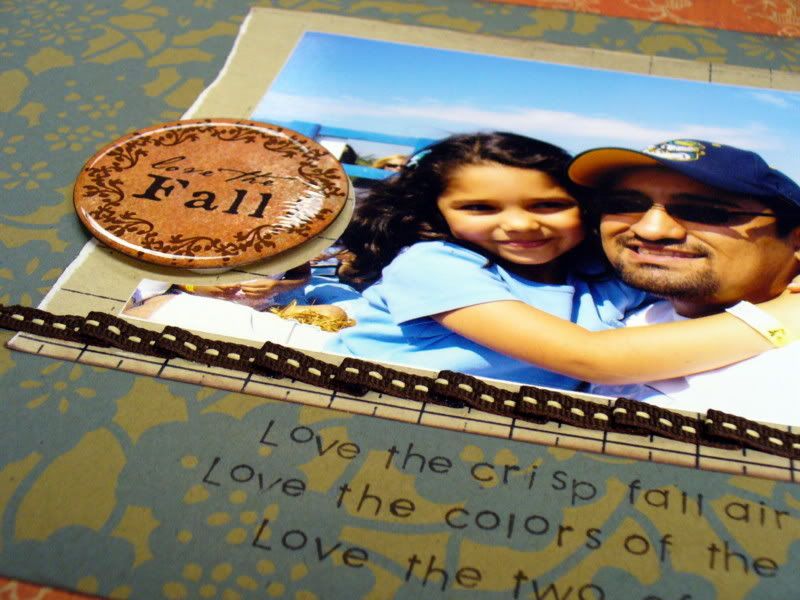
This technique comes in handy for non-sewers (or those of who don’t want to drag the machine out) as well as for layouts where the stitching just isn’t the look you are going for.
Thanks for stopping by!
erin
1 comment:
This is a very cool trick -- I love how sewing embellishes a page, but it is just not in me to get all the needles, etc., out. I love that this is a good "cheat" to get that look.
Post a Comment