Saturday, September 5, 2009

Fun with Circles


I made this layout with the Andrea Victoria package. And a had a little fun with a circle theme, using patterned paper with circles, punching circles and round eyelets.

When I was planning this layout, I picked out the background paper because of the golden color. As I looked at the photo lying on the paper, the shape of the fishbowl and the circles on the paper jumped out at me. I knew I wanted to play that up. So, I choose coordinating paper that also had circles or circle-like designs, I used eyelets to suggest airbubbles rising from the bowl and several circle punches to make larger accents.

Have fun and find inspiration from your photos!

Thursday, September 3, 2009

Playing with Paper

I *love* paper! Do you? If you're like most scrapbookers, I bet the answer is yes! This month Lisa challenged us to do as much as we could using mostly paper from two of the new My Mind's Eye lines.

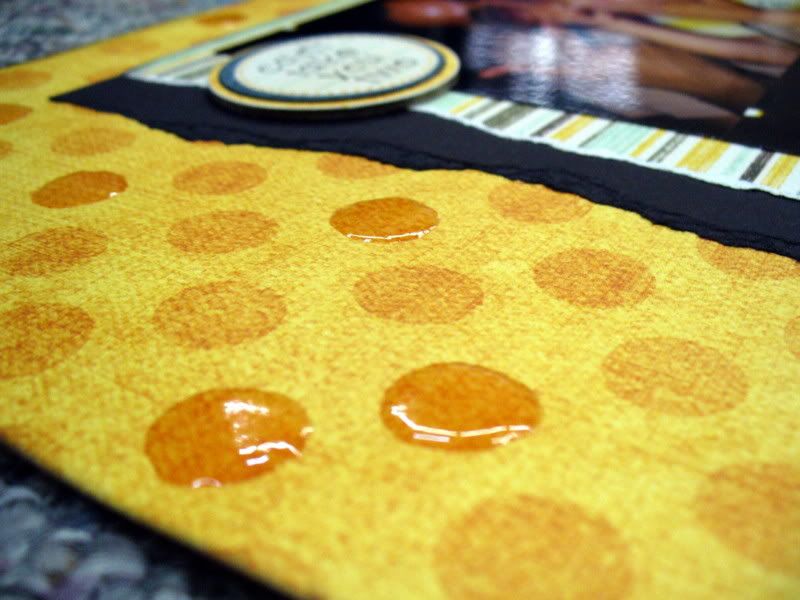
For one of my layouts, I really wanted to add a little pop to the background patterned paper, but I didn't want to draw the attention away from my silly pictures too much. So to add interest and a little fun I used Glossy Accents to outline and fill in some of the polka dots in the background paper. Once they were filled in, I just needed to let it dry overnight. It's simple, easy, and adds a special touch to your layout!


thanks for stopping by!
erin

Wednesday, September 2, 2009

Do you need some All Occasion Cards?

My kit this month was the Andrea Victoria line from MME and I *loved* it! The colors are a combination of classic neutrals and classy golden tones. I usually struggle with cards, but I made (4) this month! Check it out: These are generic, all occasion cards that are even okay to send to a guy!
I always struggle trying to make cards that are a little more masculine, but because of the colors, I even think the flowers don't make them too "pretty" or "girly"... although I wouldn't hesitate to send them to my girlfriends either!

The sentiment on (2) of the cards are from a stamp set that Debbie has in the store from Inkadoo "Tell It Like It Is" - they are so cute and so true! The asian word tiles are from a doodlebat font set I purchased online. The "perfect day" icon is also from a purchased doodlebat font.
.
The die cut sheet makes it quick and easy to assemble the cards.

I am going to go back and buy a few more of these to keep in my stash because I can see turning any of these cards into birthday or wedding or graduation cards with a simple change in sentiment!
.
I also cut a lot of flowers out of the "Floral Stripes"paper in the line, so I will have to add a couple more of these sheets to my stash as well!

Tuesday, September 1, 2009

Memphis Quick Stop by Esther


The My Mind's Eye Ooh La La papers seemed right for this layout with colors of decades from the past—gold and green. I started with a solid green color cardstock and built layers that accommodated the four photos that I had on the subject. In order to lend some pizzazz to the layout, I cut a circle using the outline drawn with a skillet lid. A third of the biege circle was used on the left side in order to balance the lightness of the map on the right side.

Journaling with transparent materials is best done with planning the page befpre printing a whole sheet of journaling to fit the spaces. I print a black & white copy on paper to test the size first. After cutting the size to fit, I do the final printing.


I used Microsoft Publisher (or Word) with Britannic Bold in 18 point being shaped to align with the arc. It was printed on a transparency sheet. When placed over the beige cardstock arc, the green print is clearly readable. The title was also printed on the transparency in size 44 in Bodoni MT. Scrapbooks Plus sells a transparent sheet by Graffix. I would have used that if it had not been midnight when this was being printed. Those sheets are smooth on both sides. The transparencies are to be printed on the textured side.


Adhering clear papers and transparencies present a challenge. After planning layers, the clear printing is adhered under other elements or holes were punched with the Crop-A-Dile to insert green brads. Some edges are beneath the photos, while others are beneath the biege arc (shown in the second and third photos). In order to place the brads on the gold cardstock mats for the photo captions, I measured placement on the back. That way the clear journaling piece is attached to the gold cardstock. Double stick tape was used beneath the brads to adhere to the sheet.


The museum information was found on their website. The map was printed on photo paper. This was a fun way to present a memory of a place I plan to see in its entirety in the future. We only made a quick stop to see the building before it was opened that day.


Ooh La La and Andrea Victoria


This month's DT kits were so much fun to put together. I used 2 different paper lines from My
Mind's Eye- Andrea Victoria and Ooh La La. I loved how the papers remind me of the changing colors of fall- my favorite time of year!
I decided that I would challenge the designers this month and just give them patterned paper and very few embellishments. I thought it would be fun to see what they came up with. To me that is the fun part about the design team- seeing what everyone else comes up with. The ladies always give me inspiration and I always take something away from the DT wall to put in my scrapbook ideas. Each and every month the DT Wall just is amazing.

Don't forget to stop by Scrapbooks Plus and see what the designers have done for the month. Pick up some of the papers that we used and show us your work~ you could win a Scrapbooks Plus Gift Certificate!

Enjoy!
Lisa

Monday, August 31, 2009

The Winner of the August DT Challenge is...

..."Winter at 13", a lovely 2 page layout created by... Nicole! She did a great job working with the beautiful patterns in the Lily Bee papers. Nicole, be sure to check in with Debbie to pick up your prize - a gift certificate to Scrapbooks Plus!

Thanks to everyone who entered our challenge this month. Be sure to check the blog on the 1st of September - Lisa will be revealing the September DT kit, which featured 2 different lines from My Mind's Eye.

The papers should be available in the store starting Sept. 2nd, and you will also be able to view all the projects created by the Design Team. Get some inspiration, pick out some papers, and start working on your submission for next month!

Saturday, August 29, 2009

How To: Folded Flowers

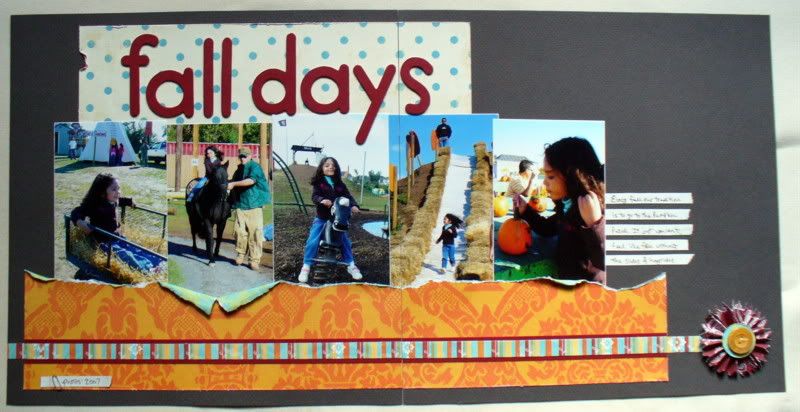
Last month when Esther made her Birthday Badges, I was reminded of flowers I've seen on some layouts online. I decided to try making some of my own... and ended up including one on each of my layouts. I guess they were a success!


It took me a while to find instructions online... so I thought I would put some together to share with you.

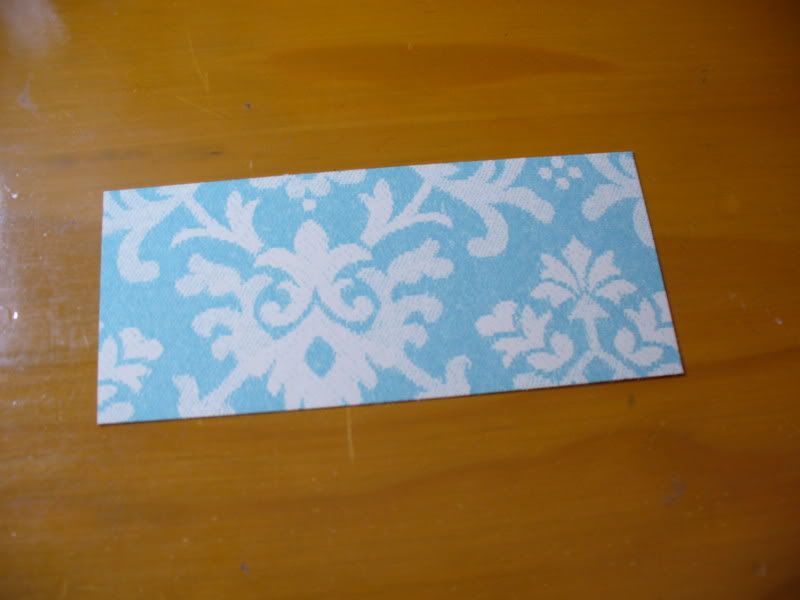
First cut your paper into a rectangle that is at least twice as long as it is wide. The largest I made was 3.5 inches in diameter (from a 3.5 inch by 7.5 inch rectangle) and the smallest I made was 2 inches in diameter (from a 2 inch by 4.5 inch rectangle).


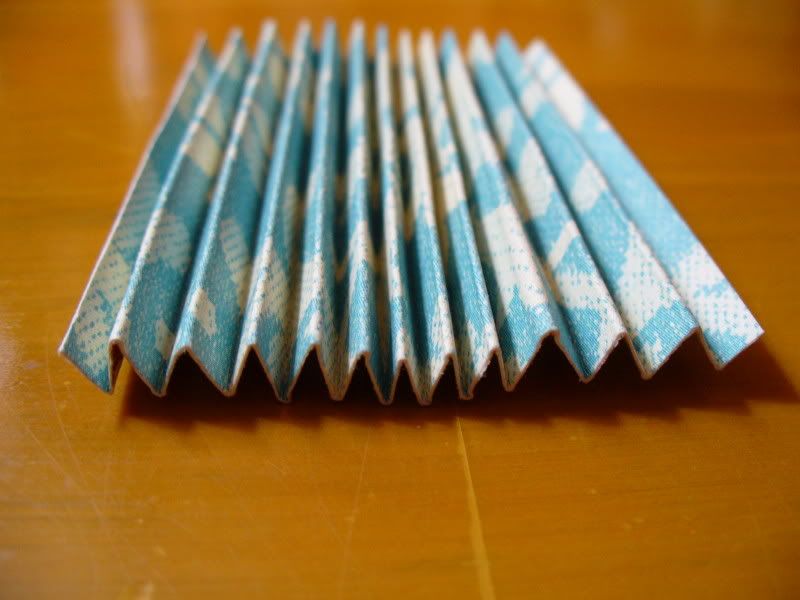
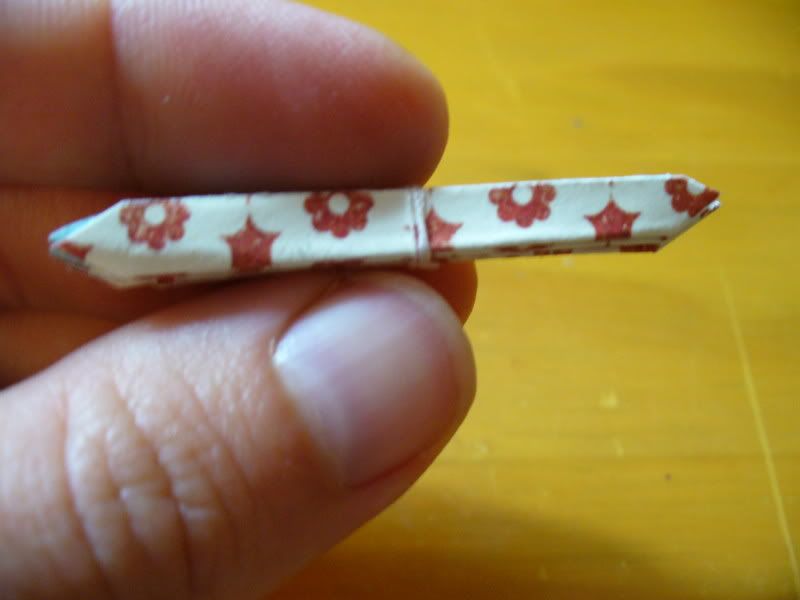
Begin accordian folding the paper on the short end, making the folds as close together and even as possible.


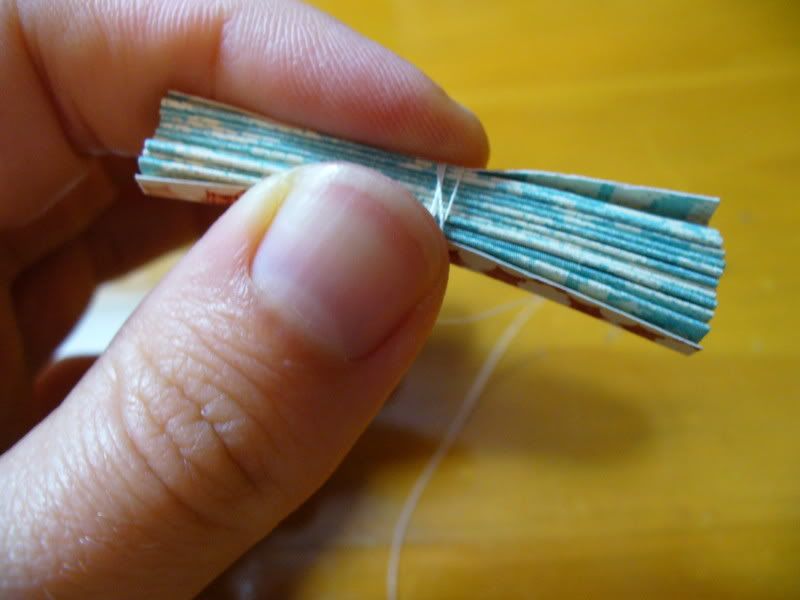
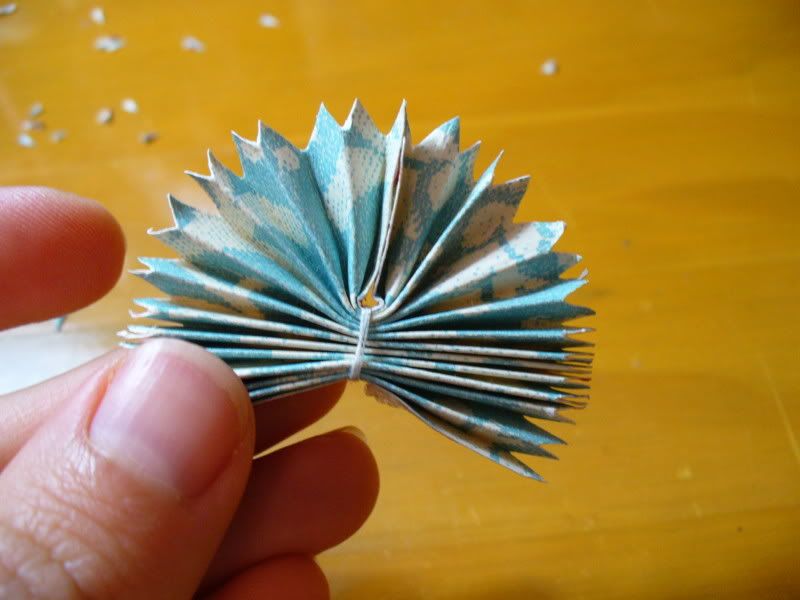
Take a short length of sewing thread (about 3 to 4 inches) and wrap it around the middle of the paper folds tightly. Tie the loose ends in a double knot and trim the ends close.


Working with a few folds at a time carefully trim the edges into curves or points. Continue until all the folds match


Bring together the loose edges and glue with strong adhesive on each side. Carefully fluff the flower to spread out the folds.


Here is the finished flower!


Decorate the center of your flower with punched paper circles, buttons, or paper flowers. I made quite a few of these and ended up adding them to almost every project I made. I love making embellishments from my patterned paper since they match perfectly!


thanks for stopping by!
erin