![]() |
| Valentine's Day Cards from BoBunny Love Letters |
Tuesday, February 5, 2013
Valentine's Day Cards
Saturday, February 2, 2013
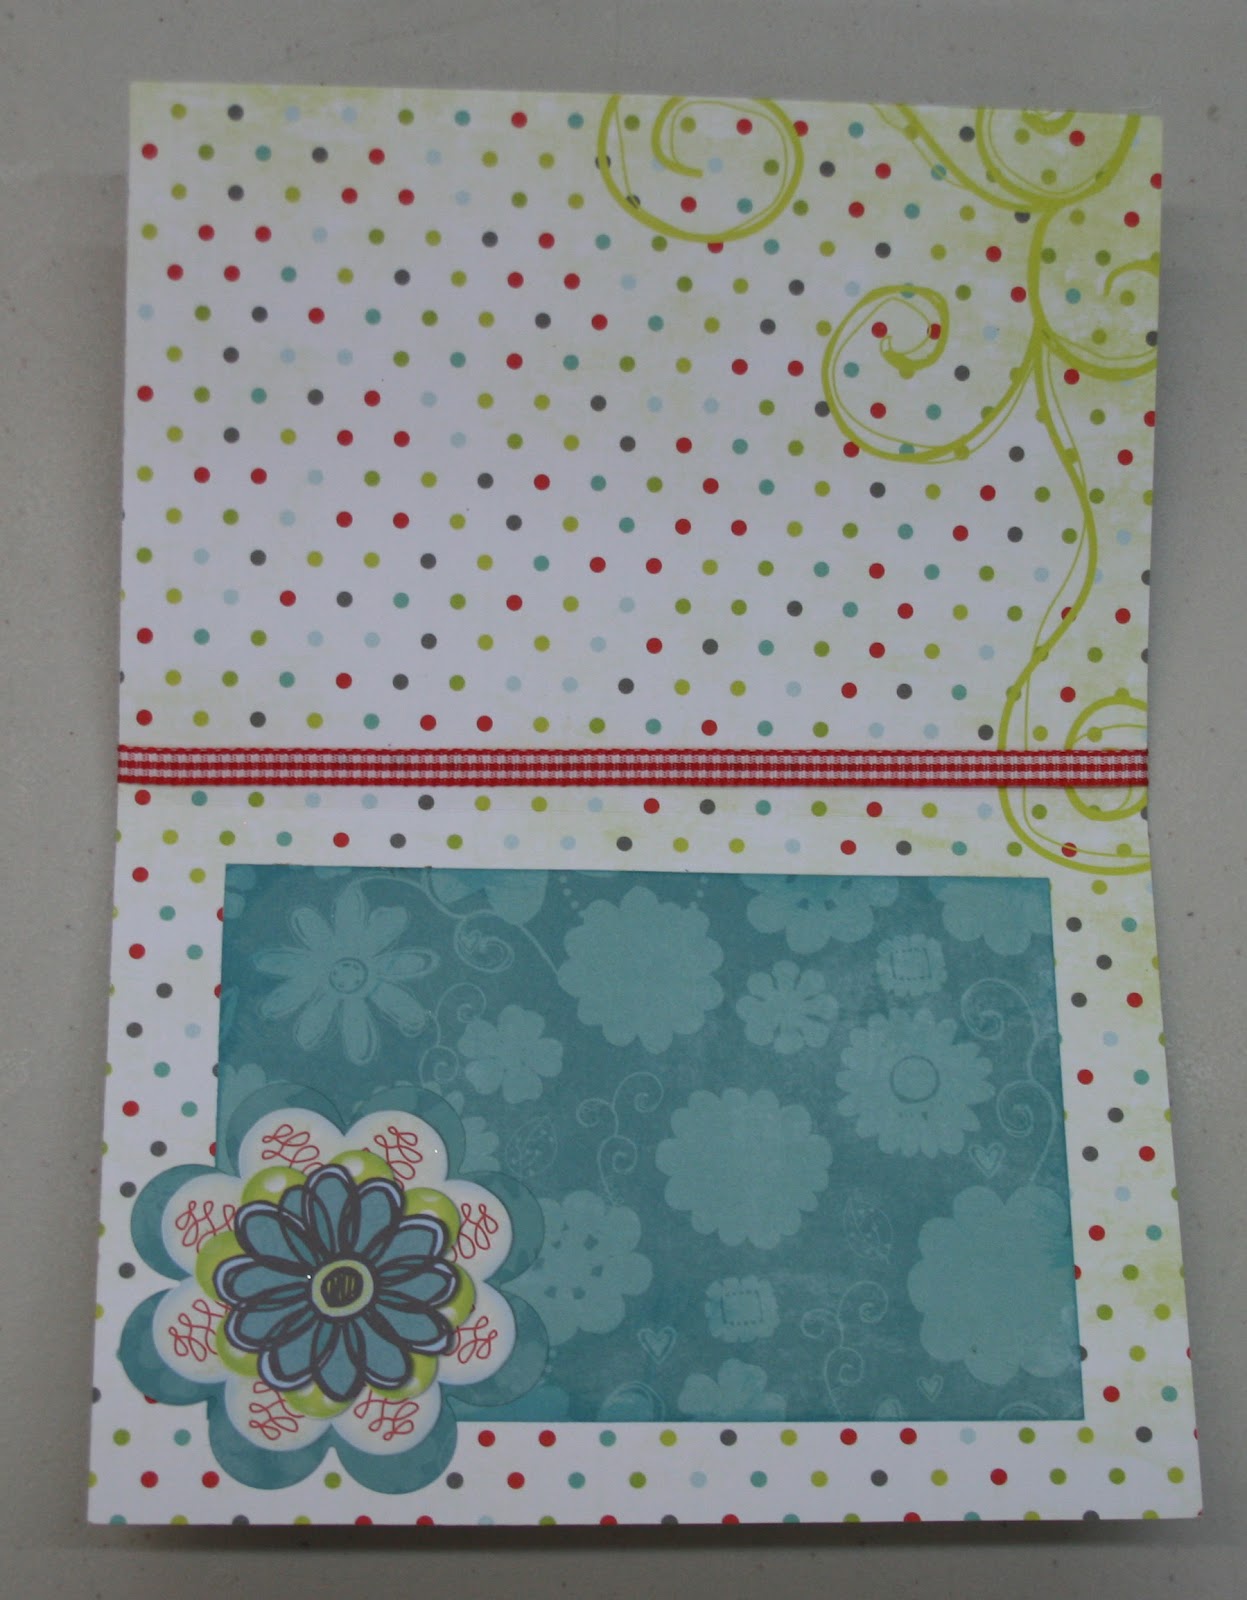
Exploding Box & Cards
You’ll make an exploding box that would be a great Valentines gift for one of your loves – grandmother, mother, daugter, husband. It looks like a box but when you open it up out pops all kinds of spaces that are decorated. You can add messages and pictures specific to the receipient. You could even include a gift card in one of the pockets. If you have a child away at school one of these with gift cards would be most welcome. Saturday, January 12, 2013
Displaying Travel Photos with BoBunny Snowy Day
Tuesday, January 1, 2013
BoBunny Snowy Day Line
Saturday, June 30, 2012
Thanks A Bunch Card
Although we all love receiving cards, we just don’t send them often enough. Wen I first saw, the Mason (or if you prefer Ball) Jar stamp with the message “thanks a bunch” I knew I wanted to make a thank you card with a bunch of flowers. The BoBunny Alora line of paper made this easy.
I stamped the Mason jar with VersaMark and embossed with Stampendous shabby green embossing powder. (This embossing powder is great as it has different types of flakes so you get a much more interesting texture than with solid embossing powder. It comes in several colors so check it out at Scrapbooks Plus.) To add a little more, I used an Inkssentials Embossing pen and the same embossing powder to make the centers of the flowers match the jar. (To use the pen, you simply highlight the area you want embossed and then emboss as usual. You can emboss writing or use to outline as I did.) I stamped the message in the jar with black ink. I tied a ribbon around the top of the card. Saturday, June 23, 2012
Make a Wish!
Thursday, June 14, 2012
Using the Alora Line to Make A Thank You Book
And since this was a thank you for inviting us to her home, a house was the perfect shape. I made the book with a house die that is available for you to use at ScrapbooksPlus. It is just the right size for a book. I made both covers from chipboard and then covered them with Alora papers. One thing I love about making your own book shape rather than using a purchased one is that you can cut the papers to cover the pages with the same die. Oh so easy! For the inside pages, I simply glued two pages together. Even though the Alora papers are double-sided, I still glued them together as I didn’t think a single-sheet was quite sturdy enough. Another alternative is to make a chipboard base for each page. This would make your book much more durable. (One thing I would do differently is to cut off the edge of the roof on the side that I am binding together for the book as it catches. If you just use your trimmer to cut that side straight the pages will turn easier. I plan on doing this when I pick mine up.)
I encourage you to take a look at the larger dies available at ScrapbooksPlus for you to use. You can use them while you’re at a crop at no charge. During non-crop hours, use of the room and all the tools (including dies) is free if you spend $5.00 . You can buy the chipboard you need at the store. Another advantage of cutting your book at the store is you only buy what you need.
On the front and back cover, I stamped “thanks a bunch” and a heart inside a jar with a stamp available at Scrapbooks Plus. (The stamp includes some other cute items you can include inside the jar.) On the back cover, I wrote below the jar what the “thanks” was for with a pen, making the book like a thank you card. I decorated the covers and pages using letters, borders and designs from ComboStickers, Tiny Type Cardstock Stickers, Alora Brads and Alora Jewels. The Alora Jewels are practical because they include rhinestones and pearls in a variety of sizes. I love using them for flower centers. On one page, I used a flower border sticker and put a jewel inside every flower. I found two more great ribbons at ScrapbooksPlus to use as accents in the book. And I cut out Alora papers in a variety of shapes to add to the pages and serve as photo mats. I especially like the alarm clock and fan cut with the Tim Holtz Movers & Shapers dies. 
Tuesday, June 12, 2012
Mother's Day Layout with Recipes
Thursday, April 26, 2012
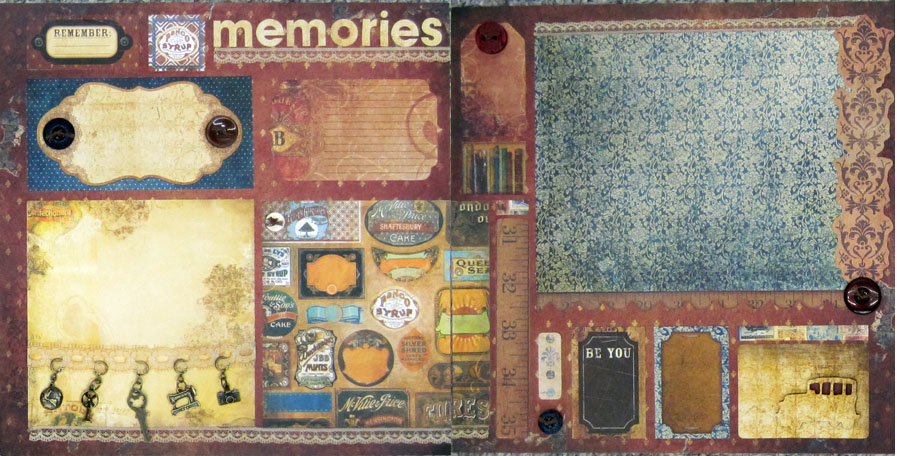
Memories Make & Take
![]() |
| Make & Take April 25th |
Friday, September 23, 2011
Basic Grey Papers & Flowers for Special Memory
I had a special picture of my cousins from our annual family reunion. As with all pictures with a lot of people, it is hard to know what to do with them. I know from trying to sort out old pictures of my Mom’s that it is important to name the people because even though today we may be able to identify them all, 50 years from now people will say who is that?
My sister and I are flowers made from Tim Holtz Sizzix Tattered Flower die cut from Basic Grey paper. (Both flowers are the same; the die contains four flowers.) My Uncle Dick’s kids are also represented by flowers made using the Tim Holtz Sizzix Tattered Flower die, but I used a different paper and flower. All my Aunt Joann’s kids are all Bazzill Paper Flowers 1.5 Primula French Vanilla. (These flowers are great and ScrapbooksPlus has them in lots of fun colors and different sizes.) My Aunt Marilyn’s kids are all blue BoBunny buttons and Uncle Tom’s are tan BoBunny Buttons. (Smaller buttons the centers of the flowers.) I tied a knot in each of the buttons with blue sewing floss. The flowers are placed vertically and horizontally to correspond to where the person is in the picture. For example, my cousin Tommy is in the back row and the furthest to the left so his flower is one of the tallest and on the left side of the page.Wednesday, September 14, 2011
Making Holiday Tags with Oxford Paper
I know it is only September but if we are going to hand make things for the holidays now is the time to do it so we have time to enjoy the holidays. I liked the Oxford paper, but didn’t have any school related pictures to scrap. The burgundy and green colors made me think of Christmas so I made extra large tags. These could be used in several ways -- for those really big boxes that a small tag just doesn’t do the trick, on cards or as decorations. Another thing I love about making your own tags is that you can mix and match what you have and they all coordinate. Monday, May 23, 2011
Using Big Letters – Beautiful Bermuda
The extra large chipboard letters at Scrapbooks Plus attracted my interest every time I went in the store. (They are available in cream, burgundy and black for only 69 cents.) So as Designer of the Month, I included a letter in the kit to see some ways to use the letters.I originally planned to use my “B” for a family page but as I worked on my projects a new idea arose. The pink side of the Perky paper reminded me of the pink Bermuda sand and the pictures I had not scrapped from a trip to Bermuda. As I looked at my p
ictures, “Beautiful Bermuda” popped into my head and I had a title and a use for my “B.” To go with the theme and the colors of the page, I sprayed the “B” with Cadillac Pink Glimmer Mist making it a solid, shinny pink. To make it more interesting, I used the green vines from the Vicki B. rubon set to add accents. This also brings together the pink with the green background. The “Beautiful” above the “B” and “Bermuda” below came from the Vicki B. Sticker set.I placed the pictures in a grid on a photomat made from Perky paper (pink side) and added a frame from Bazzillion paper (brown side). Some pictures are on each side of the 2-page layout. This didn’t provide enough attention to the pictures so I added a corner ac
cent in each corner created from the rubon set. The flowers in the center are also from the Vicki B. rubon set. They are placed so that each is partially on both pages and draw your eye to the center of the picture display. Tape the pages together on reverse side with painter’s tape to assure that they don’t move while you work and apply the rubons as usual. Once affixed you can simply pull the pages apart and the rubons separate with the design fitting together perfectly when you place the pages together. I love this trick!To add a little more design, I covered a chipboard flourish with Bazzillion paper (brown side) and also cut two smaller flourishes ones from the same paper. (The dies for these are available in the crop room.) To add interest, I sprayed the flourishes with Decadence Chalkboard. The effect of this is hard to see in the picture but when you look at the page directly it adds a benefit.
Without the “B” this page would not be nearly as attractive. Check out the letters. You can use all kinds of scrapbooking techniques on them to make them fit your page. How else can you add this kind of focus on a page for only 69 cents?
Tuesday, July 6, 2010
Paradise by Esther
Wednesday, May 26, 2010
Happy Birthday Mickey by Esther
Sunday, August 16, 2009
A Place for Everything - Scrap Oranization by Loretta Cooper
In this, she unwittingly taught me the second essential rule of organization: Be willing to part with anything you 1.) don't use 2.) don't like 3.) can't remember why you bought it in the first place.
One of the things I've observed about scrappers as a group is that we are all collectors. It's part of the hobby. It's a little impulsive and and little obsessive... and frankly, that's why we love it. But it's also very easy to get overwhelmed or frustrated if you can't put your hands on "the stuff" you need when you finally carve out those few moments to play.
For this blog, I'd like to invite you into my scrapping space-- a small extra bedroom upstairs -- and show you some of my organizing tips. As you can see, I use every inch of space. I added the little daybed because somebody is always coming in to chat. ( It's the perfect resting place. Stiff as a board so nobody stays too long! )
My workspace is a standing workdesk I found at Ikea eons ago. I am certain they have much nicer things now, but I'm afraid to look.
Good lighting is important too! This room has two huge windows. But I scrap a lot at night-- and I am really particular about color, so I have three lights in this room -- the two you see here and another on the opposite side of the space.
Above the work space I have a magnetic bulletin board also covered in tools and a few published projects that inspired me.
Again, I try to keep the tools and materials I use most within arms reach. If I have to take even a few steps away, I get distracted...
I used to keep all my paper, sorted by color in paper racks. I've pretty much abandoned that. It got too complicated trying to figure out where all those multi-colored prints should go.
I have discovered I really like this system. Even though I can't see it all, it's fun to flip through the files and discover all those wonderful prints.
I have several of these bins. One with only holiday or special event papers (Christmas, Halloween, Summer, Fall) Another holds project categories (Sports, Travel, Family, etc.)
In the second closet I keep all the other goodies separated into drawers.
Brads, snaps, flowers, chipboard ... Basically anything that can be used to embellish a page lives in here. This is also where punches and circle cutters live.
And finally, there's the computer center. I've only recently moved my old laptop up here.
And in case you're wondering ... that big thing full of stickers is called a scraprack. It's a new addition to my organizational system. The jury is still out on it's usefulness for me. Let's say I like it a lot "in theory".
I'd love to hear (and see) how other scrappers are organizing their loot! A well organized stash means there is that much more room for more!
Happy Scrapping!
Loretta
Sunday, July 12, 2009
Red Birthday Letters Needed by Esther
Thursday, July 2, 2009
Details, Details, Details...an Apology...& a Project!
Remember when your project is ready, just leave a comment on Leah's post where she reveals the July Kit and tell us where we can go and see your creative genius! (OR you can email a picture of your project to debbie@scrapbooks-plus.com ) The winner will be awarded a Scrapbooks Plus gift certificate and the layout will be featured on our blog! (If you want to review the rules, this link will take you to my original post inviting you to play along!)
Basically, I bought a .99 foam visor and used it as a pattern.
I used a circle punch (about 3/4" diameter) to create a scalloped border.
I used my crop-o-dile to punch holes through all layers and set some eyelets, then I threaded beading elastic through the holes and used square knots to tie it off.I think it turned out pretty cute!

I folded a double thickness of cardstock and placed it on top of the cutting die, but left one edge peeking out - see it at the bottom?
Thursday, May 28, 2009
Gift Bag by Esther
How about a gift bag to match the card for a special friend?
Most of us probably make cards. But do we take time to decorate the gift bag? Start with a gift bag in the desired color. This one was a metallic gold, I used patterned paper to shape with a flexible ruler for the swirls. ScrapBooks Plus has the bendable ruler by Bo Bunny that can be used to mark the shape of the bent ruler. After marking the curves, I used a craft knife (Fiskars has a good one the your index finger fits into) to cut along the curves. The pieces were moved around to get the desired effect & glued to a solid cardstock. A gold marker was used to show the curves. I cut the rectangle to fit the bag front.
Once the shaped paper pieces are glued to the gift bag, you can decorate it with markers, ribbon, lace, pearls,& stickers, etc. Use contrasting colors and patterns for interest. The yellow flowers pop on the aqua tones of the paper. Double-sided tape is good for this project because the bag will get a lot of movement. Add a tag & ribbon on the handle.
Now the bag becomes a part of the gift. Add tissue inside with the gift. I made a card to match that is on display at ScrapBooks Plus. Let me know if you make a gift bag to go with a card?
Wednesday, May 27, 2009
There's No Place Like Home
This little HOME word album had been talking to me long before the Bo Bunny DT kits were ready for pick up. I had seen a similar album done in the Abbey Road paper line and just had to create one for myself in honor of the eleventh anniversary our house. What a long way it's come since the barren, red clay yard and bare, builder-white walls of April 1998!
The key to making this (and other similar books) sing is all the detailed cutting. I cut at least forty flowers, vines, leaves and other elements from the paper's patterned to achieve this effect. Frankly, not a lot of embellishments were purchased for this book - the decorative touches are mostly achieved through inking, layering and pop dotting the handcut items. Add a little ribbon and a few buttons and you are set. I know a couple of people at the store have told me that they have been making their own book from this sample. Just let me know via this blog, and I'll gladly leave the book at the store after the wall changes out on June 1 for a little while longer if you need it to finish your own "HOME" book.