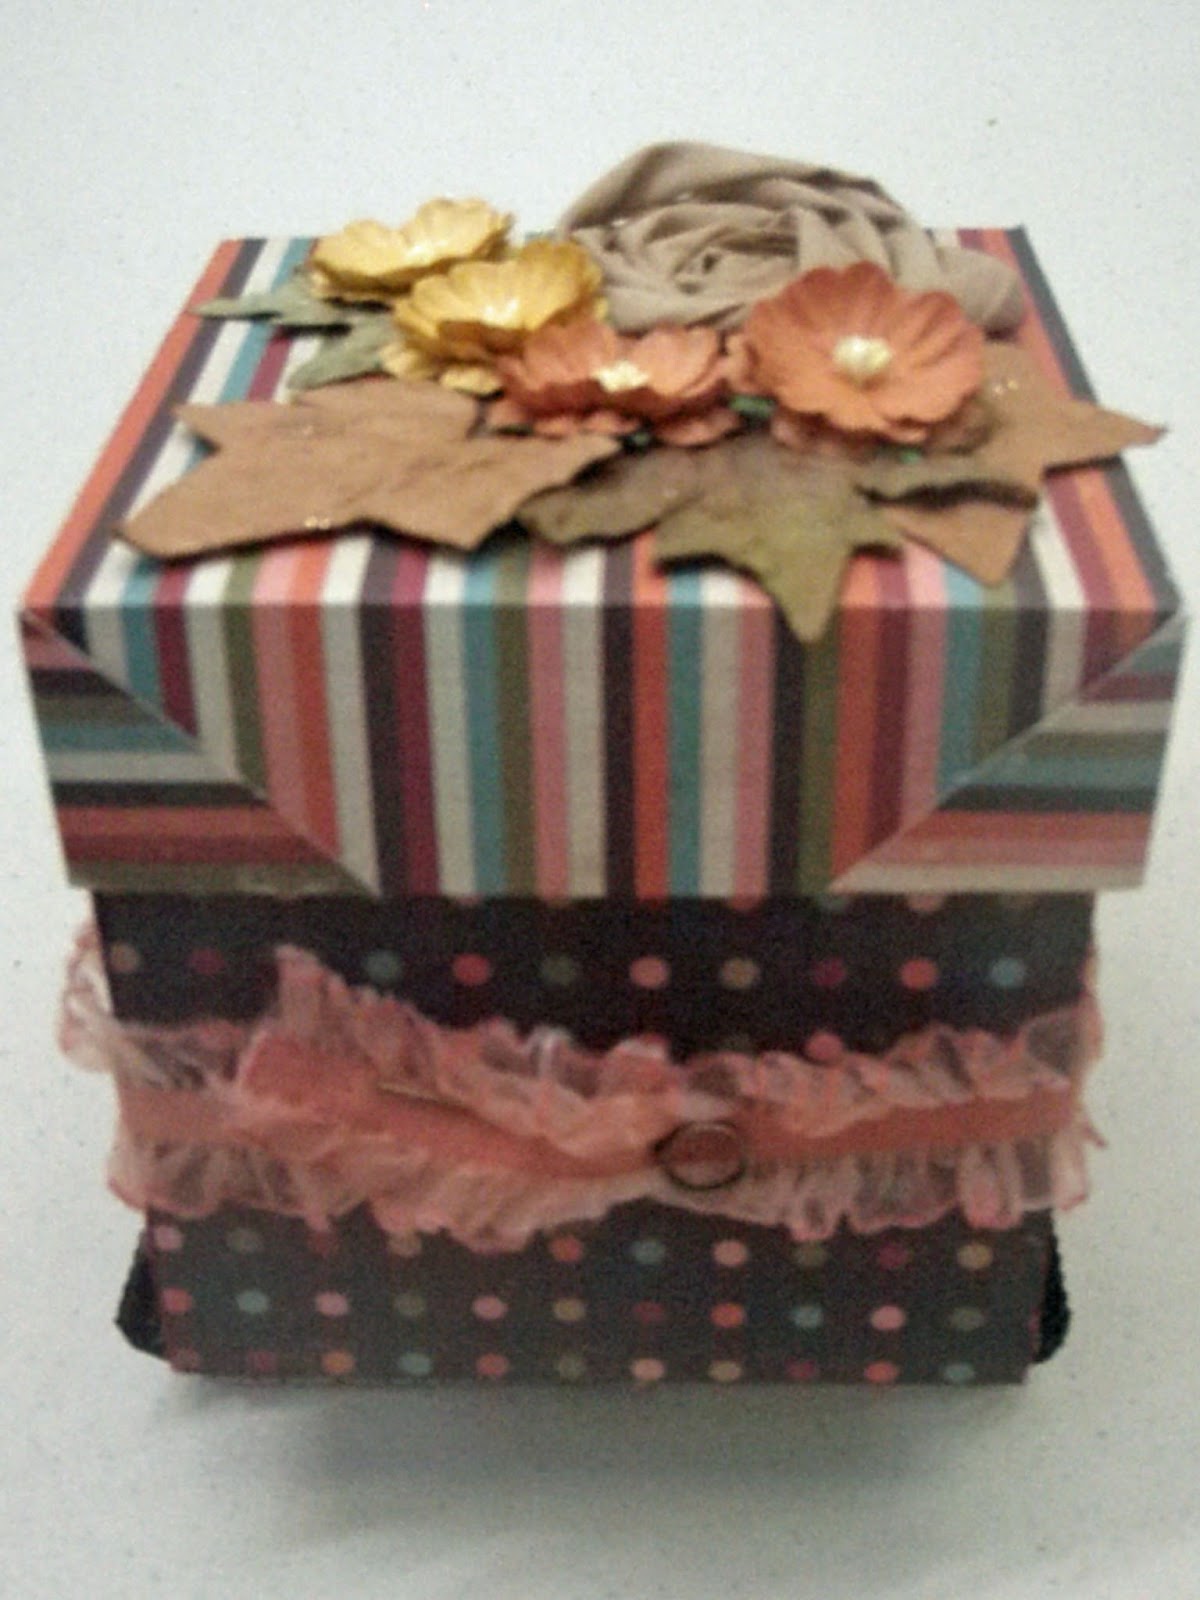
An exploding box is a small box that when opened has pages and pockets for pictures or messages, giving you a special way to share your sentiments. They are great for special relatives or friends. My box is filled with inspirational messages for a friend, who is going through a tough time. You have a total of 20 sides inside the box on which you can put messages, pictures or embellishments. In addition, you have pockets for 8 tags or special memorabilia. This is one of the projects that looks tough but the basic framework is easy if you follow the pattern. The Simple Stories Life Documented collection works especially well. The double-sided coordinating papers are of just the right weight – they are easy to work but thick enough for a box. The embellishments can be as simple or complicated as you want. 
For this project you need four pieces of paper/cardstock – three for the boxes and one for the top. For the outside of the box, I used Live Life 24/7. A 12" x 12" piece forms the outside of the box and one set of inside flaps. For the middle box, you need a 10.5” square. I used Newsprint. And for the inner box, which requires a 9” square, I used Orange/Grid.
Begin with the 12" x 12" paper. Imagine your paper is a grid with 4" squares as in the image below. (My drawing is not to scale; all should be 4" squares.) Score on dotted lines and cut on solid ones. To assure that all my lines were straigiht and corners square, I used my trimmer, changing from a cutting blade to scoring blade as needed. Score a diagonal line from the outside corner of A to the inside corner of A. Repeat with C, G & I.
 |
| Inside of Outer Box |
Fold along score marks. The four corner squares will become triangles once you complete folding. Use glue to hold the corners in the triangle shape. The flatter they are the better it will be when you fold the box. I inked all the edges with Fired Brick Distress Ink. The four squares that you have on the inside can be decorated. I would recommend that you decorate these with flat objects as the two other sets of “pages” will be on top of these. I stamped messages on coordinating paper and affixed to the squares. If you use, a lighter paper on the inside you could stamp your design directly on the flap. Cut out objects, border trim, etc. would be really great for this.
For the middle (10.5" square) and inner (9" square) boxes, score and cut as shown in diagram above. Squares should be 3 1/2" and 3" respectively. (Note: Do not score diagonal lines as you did for the outer box.) For these two boxes, you fold along the scored lines to make four pockets for each. Seal the side edge of the square. I used 1/8” redline tape to hold the pockets in place. You only need to adhere on side since once box is glued in place a bottom will be formed. Remember in selecting colors and folding to consider what color you want the pockets to be. The pockets will be the color of the paper that is facing down.
 |
| Inner Box Pocket & Tag |
I inked the inner box with Spiced Marmalade Distress Ink and the middle box with Weathered Wood Distress Ink. I stamped a variety of positive messages, butterflies and birds using Tim Holtz stamps. (Stampers Anonymous Odds & Ends, Stuff to Say,) I used some hearts cut from the papers, circles and scalloped circles. Life Documented provides lots of circles and messages that could be used. On the inner pockets, you can use items with a little more depth. For example, I used some Bazzill flowers. (Since you are going to decorate the bottom, it is best to put the thicker embellishments at the top.)
I used the Simple Stories journaling cards to create tags to put in the pockets. I trimmed them to fit the size of the pockets. I affixed an eyelet and tied a ribbon to the top. (I used white ribbon and sprayed it with Spiced Marmalade Glimmer Mist. The tags can include a message, a picture or one on each side.
Once you have all boxes decorated, glue the boxes together. You can use your favorite adhesive. I used Glossy Accents because I wanted to make sure it stuck. Once the boxes are together, you can decorate the bottom of the inside of the box. I made one flower with a Gluber and a strip of linen ribbon that is available at ScrapbooksPlus. (If you haven’t used Glubers, you need to try them. They are really easy to use to make a variety of flowers.) You simply roll the ribbon and push down into the massive (and strong) glue dot. Of course, you could use any kind of flower or other embellishment you like. The remainder of my flowers are Bazzill paper flowers. This is where you can make the box fit your theme and use lots of the fun embellishments available at Scrapbooks-Plus. The only limit is the space you have.
|
| Inside of Box When Closed |
Fold the box closed and secure with a ribbon. I used the elasticized ribbon from the Tim Holtz Ideo-ology Lavish Trimmings set. After it was sprayed with Spiced Marmalade Glimmer Mist it looked great with the paper. I fastened the ribbon with a Tim Holtz Idea-ology Memo Pin. An Idea-ology Trinket Pin would work the same way – perhaps even better because it wouldn’t have a sharp edge. You can tie it shut with any ribbon, but using this elastic ribbon means you don’t have to re-tie every time you open the box.
 |
Voila!
A Beautiful Box wtih a Special Inside |
For the box top, you need a 5 ¾” piece of paper/cardstock. Score 1½” around all four outside edges of the box. In the corner squares, cut a straight line from the out edge to the inside edge of the square. Fold along the scoring lines, gluing the corner edges.
All that is left to do is decorate the top of the box. I made mine match the decorations that I put in the bottom of the inner box so I used another flower made with a Gluber and linen ribbon and the same Bazzill flowers. I added a few Prima leaves.
These are perfect when you want to give a little more than a card, but not a big gift. What grandmother wouldn’t love one of these with pictures of the grandkids? Or it would be a great way to share your feelings or memories with your Valentine? I’m thinking it would also be a great thank you gift for a hostess. And you get the fun of making it. Try it!


 You’ll make an exploding box that would be a great Valentines gift for one of your loves – grandmother, mother, daugter, husband. It looks like a box but when you open it up out pops all kinds of spaces that are decorated. You can add messages and pictures specific to the receipient. You could even include a gift card in one of the pockets. If you have a child away at school one of these with gift cards would be most welcome.




 I have been wanting to try an Exploding Box for ages, and when I got this month's kit with the 29th Street Market papers from My Mind's Eye I knew I had the perfect foundation. I would have to say it is a misnomer to call it paper, it really is card stock...beautifully decorated on both sides! The patterns and colors seemed kind of timeless so I decided to use my parent's honeymoon from 1947 for my subject.


