Showing posts with label cards. Show all posts

Tuesday, February 5, 2013

Valentine's Day Cards

Valentine's Day Cards from BoBunny Love Letters
With Valentine’s Day nearly here, now is the time to get your Valentine’s Day cards made.  ScrapbooksPlus has some great papers for your projects. 

I especially loved BoBunny’s Love Letters line.  It has pinks and turquoises and just makes you happy to look at.  For my Valentine’s Day card, I used the Airmail paper, which has stamps on one side that are ohh so cute and the Love Letters, which has fun stripes.  I made a standard-sized horizontal card with these two papers.  For the trim and a handmade envelope, I used BoBunny Island Mist Vintage.  This turquoise-mottled paper (with gold polka dots on one side) made an envelope that popped, especially when I added a little trim and hearts from Love Letters.  (If you haven't checked out this line of paper, I encourage you to do so.  Similar to the BoBunny dots, this paper comes in a variety of colors  -- all vintage and all with gold dots on one side -- that can be used with all kinds of paper.  I love the browns and blues.)

I also made a little matchbook using the same papers as the card.  I added a Valentine's Day message so it could serve as a unique card. 

Stop by ScrapbooksPlus and check these out.  I am not sure that the picture does them justice.  While you’re there, you can get the supplies you need to make these.  You can also check out other Valentine's Day papers, such as Basic Grey's True Love, which includes little mini bottle caps!

ScrapbooksPlus will be offering a class to make these three items plus a Valentine’s Day exploding box.  Not only will you make these great items, but you’ll learn how to use a scoring board.  So whether you want to make t hese items or to learn how to use a scoring board, sign up now as space is limited by calling ScrapbooksPlus at 703.263.9503.  The class will be held on Saturday, February 9, 2013 from 10:30am – 2:30pm for a cost of $45.  I hope to see you there!   

Saturday, February 2, 2013

Exploding Box & Cards

Most people love to get handmade cards and gifts. I think it is especially nice for Valentine's Day.  On Saturday, February 9th Scrapbooks-Plus will offer a class in which you'll make four Valentine-themed items using a scoring board and BoBunny’s Love Letters line. 

You’ll make an exploding box that would be a great Valentines gift for one of your loves – grandmother, mother, daugter, husband.  It looks like a box but when you open it up out pops all kinds of spaces that are decorated.  You can add messages and pictures specific to the receipient. You could even include a gift card in one of the pockets.  If you have a child away at school one of these with gift cards would be most welcome. 

In addition, we’ll make a newly popular “matchbook,” which can serve the same purpose as a card, but is oh so cute. 

 A card and matching envelope will complete our projects. 

Although these projects are great and reason enough to take a class, but the real purpose of making these is to learn about a scoring board.  After making these item, you can decide whether this is a tool you need in your papercrafting tool box.  Whatever you decide, you’ll have completed some projects, learned how to make some new items and had a fun afternoon. 

This class is part of a series I'm teaching to share new tools and techniques so that we are continuing to expand our papercrafting skills.  I always feel that I make better decisions when I get to use somehting before I buy it and you'll definately gain that experience with this class.  And you'll have a lot of fun!

The class is on February 9, 2013  from 10:30am – 2:30pm with a cost of $45.   The items are on display at the store if you'd like to look at them up close.   To sign up stop by or call Scrapbooks Plus at
703-263-9503.   Space is limited.

Tuesday, December 18, 2012

Count on Kaiser Craft for quick cards

Time is getting short now!  Have you gotten your holiday cards out the door yet?  I made this quick card by layering together a 6x12" piece of Kaiser Craft paper and several coordinating papers.  I finished it off by using several of the embellishments that coordinate with the paper line and by using the words on the opposite sides of the bar code strip on the papers.  These can be a wealth of embellishments for cards, smaller projects and layouts.  Be sure and take a peek at them when you cut them off before throwing them away.  Many manufacturers are starting to print on the backside which literally gives you 'no scrap' scrapbook papers.

So pick up a few Kaiser Craft papers and a pack of embellishments and start layering for quick cards!

Sunday, October 14, 2012

Halloween Card

Since most people email these days, people really love it when they get something in the mail.  And it is even better when it is a handmade card!  Once I have the idea, making a card is a snap.   So use this one or take a look at the Design Team Wall for lots of other ideas.  The instructions to make this card follow.

Cut a 9“x 6 ¼” piece of Authentique Glowing paper and score it to make a 4 ½” x 6 ¼” card. 
Stamp three images on Chillingsworth Orange/Tan  paper with Stazon black ink.  I used  Stampers Anonymous Tm Holtz Stamps Mini Blueprints CMS 136.  This is a great set that has four images for each Halloween, Thanksgiving and Christmas.  Cut out the stamped images and ink edges with Spiced Marmalade Distress Ink. Affix these to black cardstock that is just slightly larger than the piece with stamped image.  Affix two of the images to the outside of the  card with pop dots and one to the inside top (not with pop dots).

Add  a 1 5/8” x 6 ¼” strip of Authentique Glowing paper (Herringbone side) on bottom of card.  Stamp message on a strip of Orange/Tan paper with VersaMark and  emboss message with Zing Black Embossing Powder. Affix to top of  Herringbone strip.  Affix ribbon to the top edge of strip.

On the inside, add a rectangle of Orange/Tan piece, inked with Spiced Marmalade & Black Soot Distress Ink so  you have a place to write a message.

Affix ribbon across inside along fold line and on outside.   Tie bow on left side

Sunday, September 30, 2012

A Purse Gift Card Holder

The Forever Young Cricut cartridge has lots of purses that you can make;  actual 3-D purses.  I had been wondering for a while what you’d do with them.  When my niece, who loves purses, was celebrating her birthday, it hit me that they could make cute gift card or money holders. 
I discovered they are easy to make.   In fact, once I thought of it I’ve made two. 

For the first one, I cut a purse (5 ¼” ) from Bright Blossom paper.  You simply fold it on the lines and glue together.  The paper I was using was not heavy so I cut a 2nd identical one out of plain cardstock and cut the handles off and glued inside the handles of the purse.  Using the thick white thread sold at ScrapbooksPlus and some adhesive, I wrapped the handles with yarn.  This takes awhile.  I glued a magnet under the edge of the purse flap and on the outside of the purse to hold it closed.  (The purse comes with a cutout to insert the flap, so the magnet is not necessary but I thought it would hold better.

Using Tim Holtz chain I affixed two labels (cut with the Sizzles Scallop Tags die) after stamping “Happy” on one and “Birthday” on the other.  I added a Tim Holtz Bauble.  On the other side I affixed Two Tim Holtz letter charms. I did “X” & “O.” 

The second purse is almost the same, except I cut a second purse out of cardstock that had texture and cut out the handles and the flap.  By gluing these on top of the purse, they look like leather trim  I added similar embellishments. 


These are really cute and you have lots of choices.  Check them out.  How much cuter to give a gift card in a little purse!

Thursday, September 13, 2012

Fall for Copics

This month our Copic card and beginners class features some fun Fall images.  The oranges and yellows can be a bit tricky but I'll help you take the mystery out of it and create some fun cars in the meantime!  The class will be held at Scrapbooks-Plus on Sunday, September 16th at 12:30, followed by our Copic Club class where we will be coloring extra large images.  I hope you'll join us to learn the basics about Copic markers and make these fun cards!

Thursday, August 30, 2012

Sewing Themed Card

Since my sister is a seamstress, I tend to buy scrapbooking supplies that have a sewing theme but then don't use them.  The Handmade Quilt paper of the Clippings Line seemed the perfect paper to make use of these.   I combined the paper and its matching buttons, which look like spools, with some stamps I had and presto a sewing themed card. 
 
I used some white cardstock for the card.  For accents, I used Handmade Quilt and Cotton Dress papers.  I cut a message box using a Tim Holtz  Sizzix Mover & Shaper Styled Label die.   Inside I used Technique Tuesday border stamps to add buttons and stitches to border the message.   The message and border were stamped with Black Stazon ink and the some of the pieces were inked with Forest Moss Distress ink. 

Monday, August 13, 2012

More Basic Grey!

This was a super simple card to make with Basic Grey's Clippings.  I cut half of the above paper- paper bag colored with red outline flowers paper lengthwise.  I eyeballed where to score based on a very slight overlap of my upper flap.  I used a 1 inch circle punch and red eyelets to create my closure- finished off with red and white twine.    I cut out another flower from elsewhere on the same paper and popped it up on the front of my card to add some interest.

The inside is made up of various cuts of left over Clippings papers.  Some are cut with my Cricut and some are punched.  The Thanks label is from the Clippings coordinating stickers.  What can you create with this fun paper line?

Thursday, July 12, 2012

Bon Voyabe Card

The travel theme of this line make it perfect for a Bon Voyage card. 

I stared with a card base from Luggage (blue herringbone).  I used the Carte Postale and Traveler card from Voyage to decorate the front and inside of the card. (I chose the Traveler for the inside as it provided space for writing.  I affixed a border from  Check In Boarder Sticker sheet along the bottom and used letters to spell “Bon Voyage.” 

I cut out three tags from 6” x 6” paper pad.  (I love these smaller versions of the designs from the 12” paper and this one is extra special.  In addition to the smaller designed paper, you get some extra boarders and tags.  It is definitely worth the investment.  These tags are a perfect example.)  I added a white eyelet to each tag.  You could just leave it like this or you could handwrite in some pertinent information for the trip people are going on that you are giving the card to.  I decide I wanted to jazz it up a bit so I stamped a small travel design on each  tag with VersaMark and embossed with Zing Black Embossing powder.   A little light blue and white twine through the eyelets was the final touch.  Add stripe of red & white cut from stripe at bottom of sheet of paper on the bottom of inside.


Saturday, June 30, 2012

Thanks A Bunch Card


Although we all love receiving cards,  we just don’t send them often enough.  Wen I first saw, the Mason (or if you prefer Ball) Jar stamp with the message “thanks a bunch” I knew I wanted to make a thank you card with a bunch of flowers.  The BoBunny Alora line of paper made this easy.  


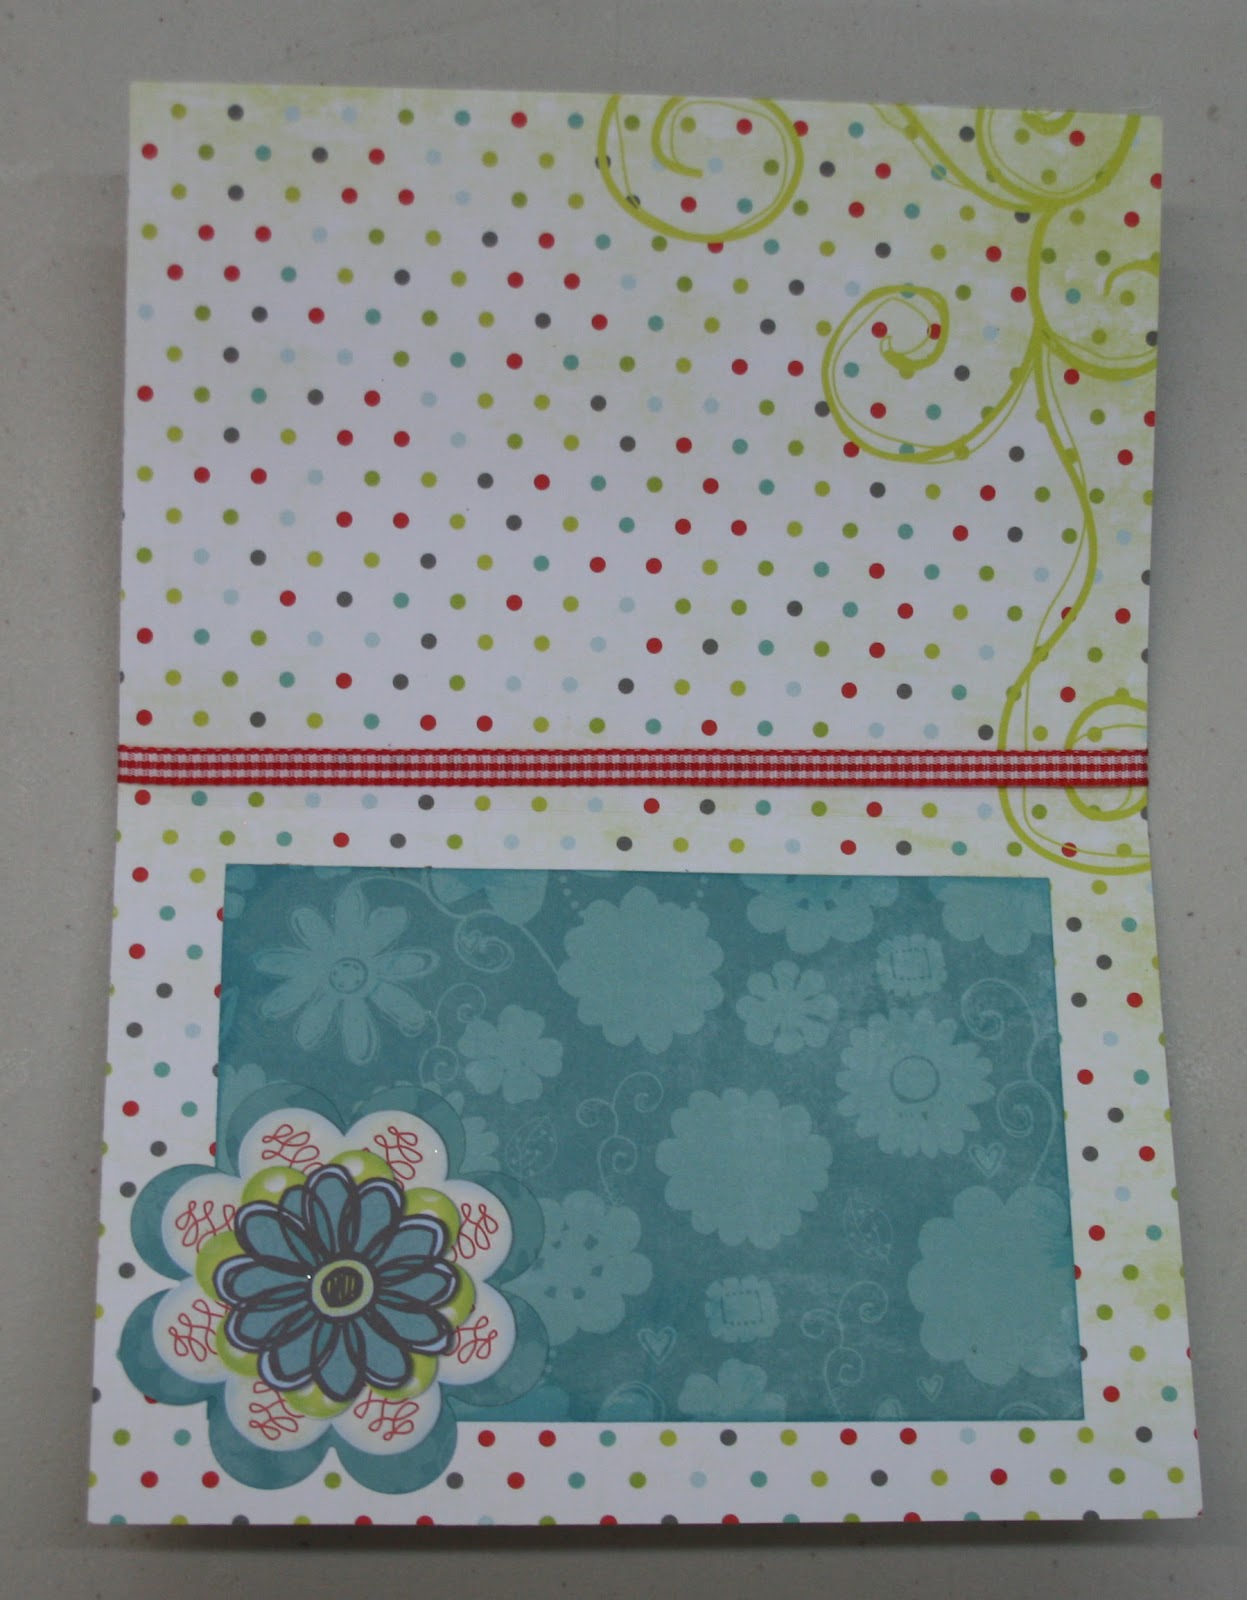
I used the Alora Stitches paper to make the card base.  (This meant the inside is polka dots of various colors with a cute flourish in the corner if you cut it out just so.)  I cut a rectangle slightly smaller than the rectamge; from the red side of Alora Wish.  I cut a square of four flowers from Alora Cut Outs.  


I stamped the Mason jar with VersaMark and embossed with Stampendous shabby green embossing powder.  (This embossing powder is great as it has different types of flakes so you get a much more interesting texture than with solid embossing powder.  It comes in several colors so check it out at Scrapbooks Plus.)  To add a little more, I used an Inkssentials Embossing pen and the same embossing powder to make the centers of the flowers match the jar.  (To use the pen, you simply highlight the area you want embossed and then emboss as usual.  You can emboss writing or use to outline as I did.)   I stamped the message in the jar with black ink.  I tied a ribbon around the top of the card.

 On the inside I affixed a rectangle of Alora Dimples to make it easier to include a message and added a couple of flowers from the Alora Combo Stickers.

Sunday, June 17, 2012

Fun 3D Card

I had a lot of fun creating this card.  It uses a single rectangle with cuts and folds.  The scalloped frame on the left is cut directly from the Alora paper as is the border at the bottom.  The Happy Birthday is stamped and punched with a scalloped circle and framed with a red scallop.  Here's the card lying flat:
The dimensional flowers, bird and birdhouse were all made using the coordinating Alora stamps by BoBunny.  I colored them using my Copic markers, cut them out and glued them to my peaks and valleys in my card.  Here's the final card:

Thursday, May 17, 2012

Friendship Card Set

This month's Scrapbooks-Plus DT kit is from Basic Grey.  There are a variety of colors in this line of papers but I chose those pages with purple in them to create some fun everyday cards.  These are great to have on hand when you just need to write a quick note for someone special.

Of course, I had to do something other than a card set so I added a box to put my cards in.  Wouldn't this make a great gift for that special friend?

Sunday, May 13, 2012

Happy Mother's Day!

Happy Mother's Day!

I created a number of cards with this Basic Grey DT kit this month.  I will post in a few days with more designs but today I wanted to say Happy Mother's Day to all the Moms, Grandmas, Aunts and any other special person who has been a 'Mom' of any kind. 


I created this card with the negative space cut by my Cricut for one of my other cards you'll see in a few days.  I took several of the paper scraps I had from this kit and pieced triangles together then stitched them with my sewing machine to give it a homespun look.  I placed my negative image over it to form a window (and so I didn't have to cut the outside edges in that pretty, but difficult shape!).  I finished it off in the center with a coordinating Basic Grey brad and stamped Happy Mothers Day on the bottom right corner.

I hope you have a wonderful day!

Friday, April 13, 2012

Butterfly Button Card

I don't know about you but I love adding a little vintage feel to my work from time to time.  I cut out the Button Card from the Echo Park This and That paper kit and used it for my card this month.  This paper has a fun modern feel with with the pretty spring-like colors but has a vintage twist. I used the button card to highlight some fun buttons from my stash that coordinate with the colors.
I then used my 3 in one butterfly punch to add some whimsy to my card.  And one butterfly seemed lonely so I added a few more flying off the button card!
I hope this paper inspires you to create something fun that you love!!

Thursday, April 12, 2012

Creating Cards with Echo Park Journaling Cards

The Echo Park This and That Graceful line is great for making cards.  So is the Charming line for that matter.  And you can even mix and match between the lines.  One 12” x 12” page consists of 12 journaling cards.  Simply select one of the journaling cards and make the card from one of the papers.  Decorate with some coordinating paper scraps.  Add some embellishments and presto you have a card.

I started with the “Flower Garden” journaling card.   I  put it on a piece of  Yardsticks (newsprint side) that was  slightly larger  than the journaling card on  three sides and about ¾” bigger on the bottom.  I used three of the new Bazzill flowers as embellishments.  I didn’t think they were quite right with the white centers so I replaced them with This & That Charming brads.   I used a rectangle (which I added a scallop on the top edge) of Red Floral to add a little extra to the top 2/3rds. 

I affixed all of this to a card made from a piece of  Dots for the card.   The bright dots made the inside attractive and cheery, but left no place to write.  I fixed that by using another journaling block.  After stamping it with a message in coordinating ink,   I put in on a rectangle of Red Floral with a scalloped top and bottom.  

I used a couple of flower stickers to decorate the back. 

If you like this look, you can buy a page of the journaling blocks, a pack of brads, a set of stickers, some flowers or other embellishments and a few sheets of paper and you’ll have a whole set of cards in no time. 

Friday, March 23, 2012

Glittery Easter Card

I’ve been wanting to play with the new microfine glitter and an Easter card gave me the chance. 

Glue piece of white velvet paper to chipboard.  Cut bunny out using Sizxiz Tim Holtz Easter Elements Dies cut.

Easter is spelled with letters adorned with microfine glitter in Ocean Spray, Yellow and Pink. To make letters, fasten double-stick tape (available at ScrapbooksPlus) to a piece of white cardstock.  Cut letters needed to spell  “easter.”  I used Sizzix dies but any cutting system will work.  Remove the protective covering from the letter and sprinkle with glitter.  Use finger to burnish (press firmly) the glitter firmly into the tape. With a strong brush, brush away excess glitter.  Doing one color at a time assures that your letters don’t end up with bits of other colors on them.  Make bunny’s bow in the same way.

To make the card, I cut a 6 ¼” x 9”  strip of Societe paper.  (Remember to check before cutting as the design is one-way on the side that will be the inside of the card.)  Score and fold to create a 6 ¼” x 4 ½” card. 

I used two Bazzill Half the Edges in white to frame the bunny and the word.  Using these for borders and trims really speeds up your project.  Be sure and check out available colors.  You get 20 per package.    ScrapbooksPlus also has the full size ones.

Wrap Follow Your Heart twine around the card several times and tie small bow.

Stamp inside with appropriate Easter message or hand write a message.


Saturday, March 17, 2012

Hexagons- I can't get enough of them!

 
I can't get enough of the hexagons with the new My Mind's Eye paper kit this month!  I used more on this card that I created.  I have been trimming hexagons all month for these projects-- which has been a breeze since it is all just straight cuts.  I love the way they look when layered.  This uses 5 hexagons and the hydrangea at the bottom of the paper and prints in light blue are all part of this amazing paper.  Enjoy!

Tuesday, March 13, 2012

Tiny Card Set

I love making practical gifts with paper.  I made this cute little basket from my left over paper from MME's Follow Your Heart paper line.  The paper with the hexagonal designs are a must have with this collection.  There is so much you can do with them... they just screamed at me to be cut out and used!

I never seem to have gift cards around when I have a small gift I want to give with a small note.  I thought this was fun paper to make cute little cards that would match most wrapping paper and gift situations without being birthday specific.  Here are the cards below.  Enjoy!

Tuesday, February 7, 2012

A Snowy Valentine's Day Card

I really wanted to make a Valentine’s Day card this month but when I saw the papers with blues, greens and browns, it appeared that this was not going to work.  Then I saw one of the Cardstock Stickers in the set  said “I’d Melt for You.”  Presto I had a Valentine’s Day card idea.    

To make the card, just like I did you cut out two  6 ¼” x 4 ½” pieces of cardstock, score and glue them together so you have the Winter Plaid on the outside and the Snowy Aspen on the inside for writing.  Look carefully before you cut as there are some nice white designs on the plaid that you may want to place on the edge of your card.  Cut a 6 ¼” x 2 ¼” strip of Skate Scratch and put a small a strip of Brown Snowy Scratch cut with a scallop punch on each side.  Affix to the center of the card.      

Stamp a snowman on the Snowy Aspen paper with VersaMark.  I used the Basic Grey Snowman but any stamp would work.   Emboss with Chestnut Zing Embossing Powder and cut out.  Make a hat using the same technique.  Stamp three little hearts with VersaMark and emboss with Barn Door Embossing Powder.   Paint the snowman with Chandalier Glimmer Glam.    (You could also use small heart buttons or cut small hearts from a pretty paper. If you are affixing something to the snowman, paint with Glimmer Glam and then affix objects.)  Draw a face on the snowman with a pen.  Fastened the snowman to the right side of the card with pop dots.  Glue three chocolate hearts in red and silver foil to the left side using Glossy Accents.

Paint the Cardstock Sticker that says “I’d Melt for You” with Chandalier Glimmer Glam.  Stick the sticker on a piece of Brown Snowy Scratch and cut around the edge leaving a small border.  To make the card a little more Valentiney, make the word “Melt” red.  I used Claudine Hellumuth’s dash of red acrylic paint.  The tip on the bottle is so tiny that I was able to fill in the tiny word directly from the bottle.   Affix the Cardstock Sticker to the card.  

Stamp your Valentine’s message inside the card. 

Tuesday, January 17, 2012

Snowflakes everywhere!

 
I had a great time making this card. I layed out my Design Team paper scraps to create my background for my card and used the beautiful trim to come up with this simple card design.  What makes it special is the textured elements I added.  First, I embossed Tim Holtz Grungboard with a Sizzix snowflake embossing folder, pulled out my mini pinking edging scissors and then inked it to show off the embossing and edge.  I love pulling out these old tools I've had since I started scrapbooking many years ago and using them in fun ways, don't you!?  I punched the tag and used an old stamp from my stash to stamp 'let it snow...'.   The other unique textured element on my card is the chipboard snowflakes.  Here's how I gave them a snowy texture...
I simply covered them with slow-drying pigment ink (or you could use Versamark) by directly rubbing them on my ink pad.  I then covered them heavily with white embossing powder and heated with my heat gun.  I let it cool completely and repeated.  This gave it a thick, textured white surface... just like snow!  Pull out your scrap and stamping tools and have fun!