Monday, November 30, 2009

And November's DT Customer Challenge Winner is...

...Robin, with her beautiful Autumn Bliss layout.
Congratulations! Your Gift Certificate to Scrapbook's Plus is waiting for you at the store!
Thanks to everyone who participated in this month's challenge.
Check back tomorrow to see the papers Designer Sharon Mozer has selected for December!

Sunday, November 29, 2009

Working Those Edges


The diecut piece from the Moravia line reminded me of the inside of beautiful old churches. I've wanted to do a layout of St. Paul's Lutheran Church in Serbin, Texas for a while. I took quite a few photos last summer at a family reunion... enough for a good 2-page layout, but I wasn't sure how to stretch the one piece of paper across the two pages. I decided to carefully cut the border off of two sides and piece it back together into one, long border. The Thickers were orginally pink... but a coat of gesso and some Tim Holtz crackle paint took care of that. I accented the layout with white paper flowers, those lovely American Crafts bling brads, some of the epoxy stickers from the Moravia line, and an extra circle design from the die-cut paper. All of my photos are standard size, so I added emphasis to the center photo by matting it with the Maple Leaf patterned paper which really picks up the colors of the chandeliers.

I'm not sure if you can read the journaling, but Serbin Church is the oldest Lutheran church in the state of Texas.... and it has the highest pulpit of any church in Texas - up on the second floor looking down! Just a little intimidating! :)

thanks for stopping by,
erin

Saturday, November 28, 2009

Stenciling with Glimmer Mist by Esther


A new way to stencil is to use Glimmer Screens that are found at Scrapbooks Plus. The package used here is the Fanciful Stencils with a Victorian inspiration. There are nine design stencils included in the box. The large butterfly and scrolls caught my attention.


Spray bottles by Tattered Angels hold a shimmering acid free color that glistens on paper. The picture does not do the product justice. You need to shake the bottle first to get the sparkles to mix before spraying. The stencil above was on blue cardstock. I used Passion Red Glimmer Mist for the scroll. Inside the circle, I used handwriting to add my name.


The screens are in various design groups. The range of spray inks is wide and they can be mixed and oversprayed for many effects. Just be sure to wash the stencils as soon as you finish spraying on them.


If that weren't enough to get me excited, I spotted the clear stamps. There was the butterfly in a thin clear stamp. It can be used with a contrasting color to stamp the image. What a delightful way to stencil. I am having fun creating my own backgrounds on 12" square cardstock.

Friday, November 27, 2009

Autumn Splendor


"...with the smell of the woods, and the wind in the trees, they will forget the rush and strain of all the other long weeks of the year, and for a short time at least, the days will be good for their hearts and for their souls." Franklin Roosevelt said this of Skyline Drive and the Shenandoah in 1936. I used his quote on this layout featuring my son Zach and our adventure on Skyline Drive last month. The layout features SEI Moravia papers and flowers by Prima (a new favorite for me). The copper base pages were not in the kit but are from the SEI Moravia line, which I bought at the store when the paper first came in after July's CHA.
The copper border that frames Tim Coffey's Gold Leaf Scroll patterned paper (K&Company) in the center of the layout are copper strips cut from the SEI "michov" foil paper in the kit. If you look closely, you can see the glittered leaves I made last month using an Accucut die cut chip board and Martha Stewart glitter. I blended Fire Opal, Brownstone, Florentine Gold, and Carnelian to get this effect.
The sticks and twigs were from an old grape vine autumn wreath in my basement. Nothing fancy... just a couple of sprigs I nailed down with Zip Dry glue. These twigs remind me of the cool new Holiday Lights sprays that Prima has just released. (I hear that Debbie is ordering them for the store and I can't wait to get my hands on them when they come in!). The dark and light brown flowers are Petaloo Mulberry Street in brown and white. The white ones were altered with Tattered Angels "sand" Glimmer Mist. The title is made from Basic Grey Milk Chocolate Letters.
All the products, except the ribbons which were in my stash, were purchased at Scrapbooks-Plus.

Thursday, November 26, 2009

Happy Thanksgiving!

See you at the Gobble til ya Wobble crop tomorrow!
And don't forget that Santa's coming to Scrapbooks Plus...mark your calendars for December 5th!

Happy Thanksgiving...Page Maps

We did yet another page map this month...and I LOVE IT...I Love this addition to the design team. This month I got to give a sketch to the DT to use and I love all the different designs, that the team came up with. :)

The best part is seeing all the designs that our friends come up with. This part is great...I have seen some really beautiful designs come out of our friends this month and can't wait to see who the winner is.

Thank you all for playing along with us...Check back on the first to see what the next page map is...

Wednesday, November 25, 2009

Changing things up/DT call


I love the way my title for the 5 things LO I did. Not only did I love using the different fonts, I really tried to change up the way each part of the title looked. For each different word I ended up trying to use a different technique. For the number 5, I cut out some Grunge Paper with my Cricut, painted it with a Copper Adirondack Dabber and put on a layer of Ranger Crackle paint in Rock Candy. For the words things and about, I altered my Thickers by adding some dimension with Ranger Glossy Accent. For the word love, I stamped out the word with a brown ink and covered it with Distress Stickles. I really love using the Ranger and Adirondack brands to add some pop to all my LOs. ScrapbooksPlus has a great variety of their products!

ScrapbooksPlus is putting out a DT call! If you are interested in trying out for the Design Team stop by ScrapbooksPlus, purchase a specially priced kit made for the DT call starting Dec 1st! Stop by the ScrapbooksPlus website for more information.
Enjoy!
Lisa

Birthday Round-up


Tyson's 4th birthday was a cowboy party. He had informed me prior to the party that I had to dress-up, so I wore the most western shirt I had at the time. His brother got in on it and had a sheriff's badge on his shirt. I used Cricut Design Studio to make a sheriff's badge and then cut a few out to add to the layout. I even cut out one out of chipboard to make a chipboard embellishment. I then added a little jute (sp?)/garden twine to the layout for the rope. When this layout comes home, I'll add the journaling. I've had issues with messing my journaling up lately (my mind is faster than my hand and many sp. errors ensue) so I decided to leave it off and add it later when it's not hanging up for all to see. :-D

Tuesday, November 24, 2009

Cut outs...

First off, I am sorry for posting so late. If you are having to check back - it is all my fault.


Costco goofed on my order and I never did go back to pick up the photo that goes on this layout but I wanted to post it because the design behind it was fun.

On one of papers offered this month in the DT kit there were giant flowers all over it. I am sure you have seen these flowers featured on "the wall" because several the designers used them this month. At any rate, after a little going back and forth I decided to cut out the center of my flower petals and to use the background paper as an accent. I inked the edges of my flower pedals to cover up any mishaps with the X-acto knife. This is just another take on making your paper work for you. The possibilities are endless, sometimes you just have to think outside of the box.


I hope that everybody has a great Thanksgiving and you remember all the things you are grateful for this holiday season!

Monday, November 23, 2009

Yes! a 4"x6" print is big enough!

I loved the Moravia papers from SEI so much, that I decided to use them to scrapbook pictures from my sister's wedding. I challenged myself this month to only use pictures that I already had - no reprints or enlargements. I love this picture of my sister and my mom and wanted to feature it on a page all by itself, but it is only a 4"x6". So to give it more "weight" on the page, I triple matted it. I used the same cutout edge on this page that I did on my 2 page layout, I just flipped the direction around. The little Prima flowers were sprayed with Kahki Glimmer Mist. At the center of each flower I added one of the coordinating epoxy stickers - one of those little details that make a layout look "finished".
I also used one of the epoxy stickers to attach my vellum quote. I am always searching for ways to adhere vellum and this tied it all together and added a much needed punch of color in the lower right corner.

Sunday, November 22, 2009

Autumn Photos

The SEI line is gorgeous with all your fall photos! I really love the texture and colors in this line. Here I used them with photos from our apple picking adventure last month (although we spent more time playing around the pumpkins and hay then picking apples). The beautiful rusty reds are a perfect complement to the pumpkins!

A layout like this is easy to do. Start with two sheets of cardstock. Then grab four 4x6 photos (although for the bottom one I merged two together - gotta make sure I've got both kids!). After lining up your four photos, add a four inch block of patterned paper to the right of your photos with a two inch block next to it. I used a border punch for a scalloped edge. My title was quite long, so I added a third strip of patterned paper in my photo block to hold the rest of it. A little journaling strip, a flower or two and you're done!

Saturday, November 21, 2009

Using Page Maps


This month's page map was challenging for me, as I tend towards more simpler designs. However, with a few slight alterations to the sketch, I made it work for me. Don't feel like you have to copy a sketch exactly -- if something isn't working, alter it! For example, instead of having several blocks of overlapping paper, I combined them into a square collage of photos and paper. I used a circle cutting guide to lightly draw a circle around my layout and journaled on that line.

I used half of a Prima ?? that I picked up at Scrapbooks Plus. I just cut off enough for it to fit over my patterned paper square.

Friday, November 20, 2009

Look Mom, No Glue!


The unimaginable happened to me this month..... I ran out of adhesive. Well, I had a tiny bit left, but not nearly enough to finish my projects for this month. So, while I waited for my glue to come in, I decided to do a layout only using my ATG to adhere the photo. Everything else I sewed in place.

I really enjoy sewing on layouts... actually I enjoy sewing on layouts more than sewing with fabric. Many people are afraid to do this... so I put together a few hints to make it less scary.

  1. Set you sewing machine's stitch length a little longer than you would use for fabric. Mine is set on 3 for paper (and 2.5 for fabric).
  2. Always practice on scraps of paper first.... every time. I've made a few errors in the past when I neglected to check the stitch setting and accidentally left the machine on zigzag.
  3. Remember you can only stitch as far into the paper as your machine bed. Curling the paper up to get a little further over isn't really a good idea. Sometimes I may have to end a row of stitching and flip the paper around to do the next row from the other side. No one will know the difference except you.
  4. Tack your paper in place with a little glue (not under where you will be stitching) or a binder clip to keep it from shifting.
  5. Take your time. Once you stitch, there's no going back... so be sure of where you want to start and stop. Advance the needle by hand at the beginning and end of rows to get it in the right place.

Finishing off when sewing on paper is different than when you are using fabric too. Leave yourself long tails at the beginning and end of your stitching.

Flip the paper to the back and gently pull on the bobbin tail. This will pull a little loop of your top thread to the back. Pull thread through.


Now tie your two ends together in a knot. I usually trim the ends short and cover with a piece of acid-free tape.


thanks for stopping by!

erin

Thursday, November 19, 2009

Last Day to Make Your Challenge Page!

If you are participating in the DT challenge this month, tomorrow is the deadline for submission. Here is my rendition of the November DT Page Map. The most challenging part of building this layout was getting the word "twenty" to print all the way around in a circle aligned to my cutting dimension requirements. I used Art Publisher Pro software to create this. It's an inexpensive software package I bought at Staples a few years ago. I originally bought it to create a newsletter for my church, but it has since found new purposes, namely in my scrapbooking. It has a lot of templates and tools to allow you to create some very cool special effects. I am certain there are ways to do this in Photoshop as well, but I am not a very sophisticated Photoshop user nor am I a digital scrapper, so I have stuck with a user friendly product that I know.

Now back to the best part of scrapbooking - paper and paste! Except for the dark brown craft paper (Anna Griffin) and cardstock, everything on this layout is from the SEI Moravia line of papers and embellishments. I used a number of epoxy elements as well from the kit. I know a lot of our readers like that crazy distressed look I add to my pages. On this layout it is on those crazy circles. The key to getting this distressed look on circles is to run your finger nail over the edges like you would use a scissor blade to curl ribbon. The effect is similar on the paper edge; it makes it curl up. Do this before you apply chalk ink to the edges. The ink used on this layout was Powder Puff chalk ink in Amaretto by Quick Quotes.

Hope this inspires you to get together your layout for this month's challenge. And to create some very distressed circles!!

Wednesday, November 18, 2009

Page Map Layout


Here is my version of this month's sketch. My newest nephew Wyatt just had pictures made and they were sooooo adorable! I loved this month's papers with them, they were a perfect match. Of course, I'm a little biased and will use any reason to scrap this cutie!
For this sketch I took scraps and layered them along with a circle of Tim Coffey paper. I added the flowers at the end, it needed something. The epoxy stickers that go with this line made perfect flower centers. Happy Fall!

Tuesday, November 17, 2009

Changing up your layout sizes

I have a confession to make. Up until last year the only size layouts I made were 12x12. I guess I never thought about mixing up page sizes in my albums. Well, I took an online class and it had us making different sized pages AND putting them into the same album! I fell in love with the way it looks~ and with all the variety of 3 ring albums out there it makes it so easy to do. ScrapbooksPlus has a great variety of different 3 ring albums.


Here is a 8 1/2 x 11 LO that I did of my twins from when they were much younger. I really enjoy doing 81/2 x 11 LOs. They have become my go to page when I have a photo that I really want to stand out and don't have a enlargement of that particular picture.
Check out the DT wall and see all the different sized pages that the designers are coming up with.

Enjoy!
Lisa

Monday, November 16, 2009

Love You- By Loretta Cooper


Card Making was not part of my scrapping resume when I joined the Design Team last year... Now it's one of my favorite distractions. Card design somehow requires a different eye than the 12X12 lay out... To get started, I poured over card books and the samples all over the walls at Scrapbooks Plus.
One of the bonuses of card making is that it's instant gratification! I could spend a week on a layout... but an hour on a card. And when you're done, there's a lovely gift to give away.
If you haven't tried card making, this is a great kit to get started with... the papers are super versitile, and can be used to make everything from birthday cards to anniversary or even Father's Day cards.
Lots of great stuff on the wall this month.
Don't forget to check it out!

Sunday, November 15, 2009

Distressing Fun

Do you distress your layouts? I never thought I was much a distresser until I realized just how much I use it in my layouts. You can use it to "junk" your layouts up a little or you can even use it to make your papers blend more smoothly. I like the aspect of layers that distressing can use as well. Below are some of the tools used in distressing that I love. If you don't distress - try it, i it is fun!


Saturday, November 14, 2009

Page map


I love page maps. I always try to either use one that someone else has designed or make one up on my own. I used to not sketch mine out, but have recently started to. I think it keeps me on track and helps me get my scrapping done! I also find that using a page map can also help with scrapper's block~ something I think I have suffered from frequently lately!

This month's page map designed by Misty was fun to use. What I really look forward to is when I get to see the other DT member's LO using the same sketch. It amazes me how we can all have the same sketch and it comes out looking so varied! I really loved Susie's interpretation this month. She blogged about it on November 2nd. Go to Scrapbooks Plus and check out all the great LOs using Misty's sketch!!

Enjoy!
Lisa

Friday, November 13, 2009

Working Outside The Box!


Sometimes when I get the kits I have no idea what to do with them or where I am going to get the pictures to do them with...

This time was no different... :)The colors were darker then I would normally use, and the patterns were far more bold then I would have used. In the end I loved EVERYTHING that I made...Thanks Michelle for the challenge... :)

So I decided that little pieces were the best idea for me. I cut the scallop out of a album that I had...just traced it and had a scallop...(as my little boy would say ter-der...)

I glimmer misted the solid bottom to give it some brown colors. I love the look and the visit from Jen Starr inspired me.

Still it was lacking...the floweres were in the kit but they were FAR to white for me...so I glimmer misted them as well...and then added the stickers for the middle pieces. They were in the kit as well...

LUCKY ME!

And still the flowers were not enough. So then with the help of some friends and an hour of discussionm of how to make the layout better. We added a block of blue...When that wasn't enough we added the corner pieces, ScrapbooksPlus has an amazing punch in the classroom that does two different pieces on the same punch so i used them both one i cut the velvet with (I love that stuff) and then a brown corner and layered them. When that was all done...it felt to open so I drew lines around it to close it all in...Thanks Enid...it worked great...

Add a picture and and ter-der all done... :)

Oh yeah and just in case you were wondering...

41 Days Till Christmas

Wednesday, November 11, 2009

Finding Inspiration by Esther


When I received the November kit with the S.E.I. Moravia scalloped shaped blue print cardstock, I was hesitant to cut it. It was so pretty. But the cardstock was too busy to do anything with my photos. I looked at the sheet for several days, with no ideas coming forth. Then one evening, I noticed a package of napkins bought a year ago. They also had a scalloped edge. Because the napkins were folded in fourths, I got the inspiration to cut the paper into fourths and make a mini-album.


The paper was halved and the half cut in half to get two triangles that became the front and back covers. The shape was traced onto chipboard and cut with the scallop. There are two inside pages along with the front and back covers.


Each of the four chipboard pieces needed to be covered with the cardstock papers. When gluing the paper to cardstock, use a quick-drying glue like Scotch Quick-dry Adhesive and spread it sparingly near the edges. Use a brayer to smooth it outward from the center of the chipboard. Let each side dry thoroughly first.

Biege allowed for a neutral warm coordinate. The sueded paper gave a soft cool blue side.


Some edges were decorated with rubber stamp ink pad and the embossed with the copper color. The Chomper was used to make a large curve at each point. This is the location of the hole made with the Crop-A-Dile that will attach them together with a ring.


It took a few days to figure out how to use the lovely patterned paper. You can also find inspiration in things around the house for your pages. See the results on The Wall at ScrapbooksPlus.

Little Man-Embossing Velvet


I love this picture of my nephew. It was his first day of preschool this year and it amazed me at the difference between this year's 1st day photo and last year's. He's grown up so much! He's no baby anymore, he's such a little man now.
When working with this layout, I used a blue velvet as a double mat behind the photo. I wanted to add a little something and decided I wanted to emboss the velvet. I'd done it before when I taught a fall class and I had loved the effect. It's hard to see it in this photo, but there are step by step photos to follow.


All you need is velvet, a rubber stamp (clear will NOT work), and an iron with the steam off. Place the stamp image up, velvet side down over the image. Place the iron on top and gently rub, it only takes about 15-20 seconds to get a deep image. If you leave the iron on too long it will melt the velvet.


Lift the velvet carefully to check the image, if it's not deep enough you can place it right back down and add a little more heat.


Here's the finished product. I just kept emobssing the same image, rotating it each time so it sort of flowed down the page. It's a little more florally than I would normally use on a boy's page, but it was perfect for this technique.


Tuesday, November 10, 2009

Dry Embossing!

I really got into embossing this month. I love using touchy-feely things in my projects and this velvet paper works beautifully! I pulled out my Cuttlebug and my embossing plates and went crazy. The velvety feel of the paper is really enhanced by the texture of the embossing.

I tried out a floral embossing plate for the background and like it so much that I used another one for my sentiment. To make the center of the flower I just used a circle punch after embossing. The rest of the flower is a bit of leftover Jillibean paper from October's kit.

Monday, November 9, 2009

Inspired by Erin!

I copied Erin for my 2 page layout this month! Well, actually, I copied her idea from last month. I stretched my title across both pages (love these glossy thickers!)...and I stretched the photos across as well, using the overlapping photo mats to connect them! I did a bit of fussy cutting, but the elements are so large that it went pretty quickly. Pop dots added dimension under some of the leaves and petals.

All of the foiled accents on the Moravia papers inspired me to pull out my Pearl Ex to add shine to the stamens on the large flowers. (I used the Future Floor Wax technique so I didn't need to seal it after it dried.)
The page was basically done but I just felt it needed something...and the answer was coordinating epoxy stickers...those 5 little dots above "today" were the perfect finishing touch!
.
I hope everyone is working on the November DT Customer Challenge. You can pick up a copy of the page map in the crop room at Scrapbooks Plus - right next to the display of this month's papers from SEI. Just remember to enter by the 21st!

Sunday, November 8, 2009

Cow Boys by Loretta Cooper

Great pictures and a great design for this months's Design Team challenge.
If you're like me you've collected stacks of beautiful printed papers, this particular design is a terrific way to utelize all those coordinated (or even uncoordinated) papers.
One way to unify the prints is by inking the edges... It gives all the prints a common feel and color.

Saturday, November 7, 2009

Birds of a Feather

The papers in this month's DT kit featuring SEI Moravia were so rich and offered just so many options. I particularly like the flocked paper that I used in this layout. The vertical striped band across the top that serves as a mat for the photos is actually flocked, though you can't tell from this picture. I chose it because the vertical flocking accentuates the vertical trees in the background of the focal photo. Perhaps my favorite part of the layout is the pewter Prima bird and the title made with Thickers from American Crafts. The bird was not in the kit, but I couldn't resist buying them when they came in the store and they match this paper so well. (There are a number of them still for sale at Scrapbooks-Plus.)

The idea for the tail feathers for this little bird comes from a design by 
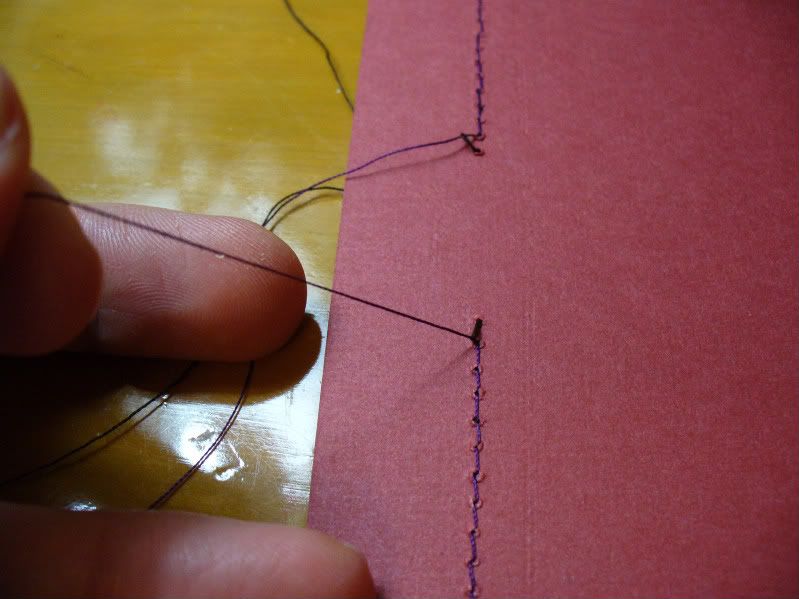
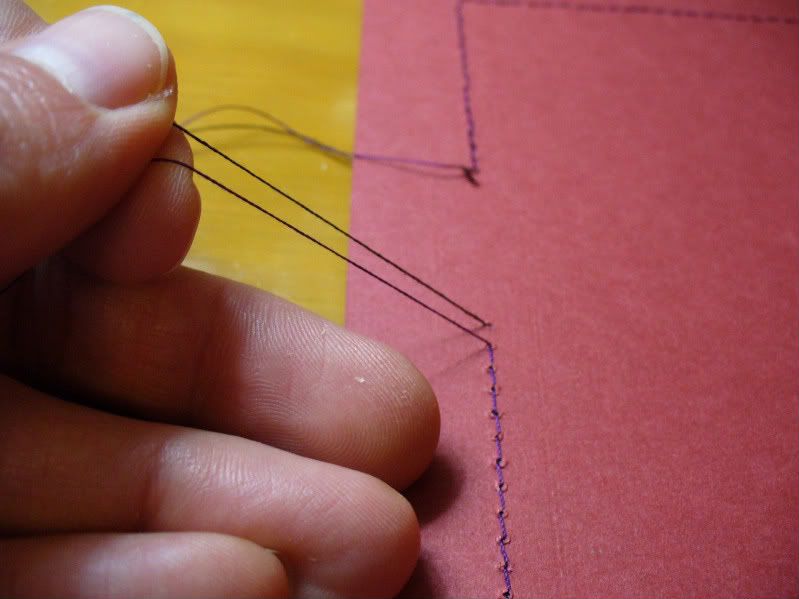
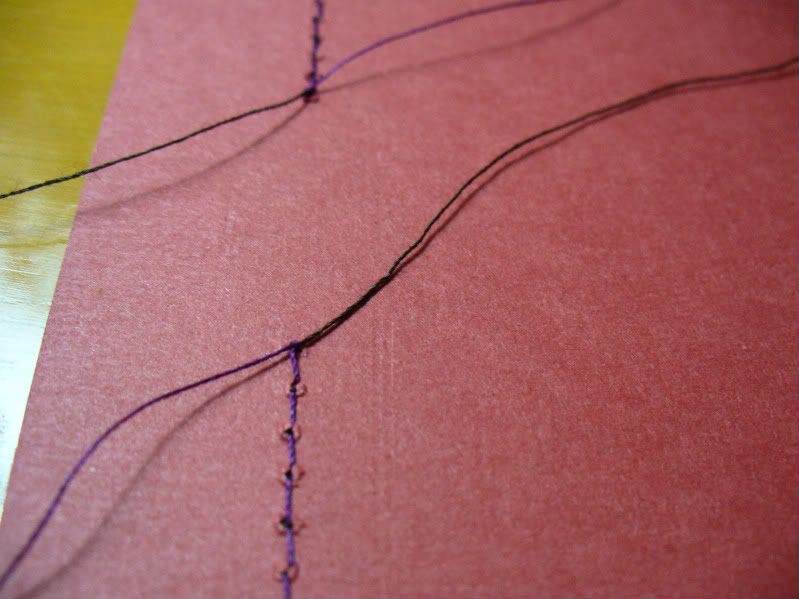
Nic Howard, one of my favorite designers. She used it in a layout she published earlier this year. Building on her concept, I cut the "feathers" from the same card stock that I used for the background. I simply folded the card stock in half and cut an arc from the folded edge. This technique is much like the way we use to make perfect hearts when we were in grammar school. Once I cut the "feathers" out, I unfolded them and sewed them along the fold with brown thread for a more eye-catching look, and then inked the edges with brown chalk-ink from Quick Quotes. I repeated the technique using patterned paper, folding it as I did the card stock and cutting smaller versions to fit in the top of each feather (I didn't sew these!). I adhered the pieces together with a small jeweled brad and glued them down using Zip Dry. I put the glue just on the fold so the feathers would sit up. The heart is cut free hand from K&Company patterned paper and the edges glittered with Martha Stewart Florentine Gold Fine Glitter. The epoxy stickers (there are three used here) are from the SEI Moravia line. The rub on is from the Basic Grey Wisteria line. Any flourish rub-on will work fine. And the feather is real. Zach and I found it on our recent trip to Skyline Drive (where all these pictures were taken)


When I finished the layout, I emailed Nic to show her my version of her bird. She loved it! She also informed me that she had created a similar bird in her design for the November Basic Grey Page-of-the-Month All About Me class. I can't wait to see it!

Friday, November 6, 2009

Scrapbooks - Plus Happenings


One month and eighteen day until Christmas!

Christmas is coming have you been thinking of all those homemade gifts that you would love to give. ScrapbooksPlus Crops would be a great opportunity for you to get out of the house and start working on those gifts...Sign up early, space is limited.

Santa Clause is coming for a his annual visit to ScrapbooksPlus. Come on December 5th from 12:30-4:30. They will have light snacks and drinks available. As well as a page kit ready for you to slap a photo of your child and Santa on.


Thursday, November 5, 2009

Everyday Things

Just like Lisa, I am also guilty of not doing enough "everyday" pages of my kids. And at this age there's lots of things I want to remember - favorite toys, funny things they say, routines, etc.

So, I pulled out a few pictures of my daughter to document one of her "games" - grabbing anyone's face and saying "chubby cheeks."


I also had a bit of fun playing with the velvety/suede paper in the kit. Gotta die cut machine? This paper is great for embossing! I used my cuttlebug on the paper and came up with the blue circle at the top. You'll be seeing more embossing from me this month - it's easy to get carried away :)

Wednesday, November 4, 2009

5 things


I really enjoyed the papers in this month's kit. I loved the rich browns and blues, plus the copper accents. I was reading Creating Keepsakes this past month and they had an article about the 10 pages that you should have in your scrapbooks. This really hit home to me. I always do the major holidays, birthdays, vacations, etc but I haven't been doing many pages about how I feel about things or about everyday things. So I decided that I would do a page about the 5 things I love about each of my boys. I left plenty of space for journaling so that I can record my 5 things!


I decided that I would use some Copper Stickles to help pull the letters together with the copper in the paper. I think it really worked well. For this title I went outside of my comfort zone and mixed fonts. I really like the way it came out. Also, I put some Glossy Accents from Ranger on the Thicker letters that came in the kit. I thought that it gave the letters some needed dimension for the title.

Don't forget about the DT challenge! Pick up the papers and our page map and get creating~ we love to see what you come up with!
Enjoy
Lisa

Tuesday, November 3, 2009

Stack up the Chipboard

Sometimes I just don’t want to have a flat page. Well… actually, that is all of the time! But sometimes regular dimensional adhesive (think pop dots and such) just aren’t enough. When I have a larger piece or an entire photo that I want to pop off the page, I use old pieces of chipboard. Sometimes they are extra pieces that I no longer have the coordinating paper line for and sometimes they are the scraps left from around the pop-out pieces of chipboard sheets.


Just find a piece to fit behind your accent and use a wet glue to firmly hold it in place. It will give your piece just a little pop off of the page as well as supporting it so it doesn’t get smooshed and lumpy in your albums.


thanks for stopping by!
erin

Monday, November 2, 2009

So This is Love

As promised, my take on the page map for this month! I didn't actually use a circle, but I tried to create a circle effect with the pieces I "fussy cut" out of the die cut paper. What do you think?
.
The SEI Moravia papers are so beautiful - I loved working with them. The foiled papers end up making your creations seem so elegant! You can't see the shine in this photograph, but trust me, in real life the effect is so impressive. I also added some bling! with five amber-colored rhinestone brads - see them in the corner of the blue photo mat?
.
In the kit this month, we also had a piece of lovely blue sueded paper and I used my Cricut to cut the title and the fancy corner embellishment out of that. Scrapbooks Plus has the Storybook cartridge - the flourishes and embellishments on that cart are amazing! New to Cricut? There is usually somebody around to give you a demo - just ask! For those of you already familiar with Cricut, make sure you check out this month's newsletter for details on the new Cricut Club!